 一文搞定Jenkins自动化部署程序
[toc]
# 下载安装JDK
下载地址:jdk-11.0.20_linux-x64_bin.tar.gz (opens new window)
解压
tar -zxvf jdk-11.0.20_linux-x64_bin.tar.gz
移动到/opt目录下
mv jdk-11.0.20 /opt/
配置环境变量
vim /etc/profile

export JAVA_HOME=/opt/jdk-11.0.20
export PATH=$JAVA_HOME/bin:$PATH
export CLASSPATH=.:$JAVA_HOME/lib/tools.jar:$JAVA_HOME/lib/dt.jar
2
3
4
5
加载环境变量
source /etc/profile
验证是否配置成功
# java -version
java version "11.0.20" 2023-07-18 LTS
Java(TM) SE Runtime Environment 18.9 (build 11.0.20+9-LTS-256)
Java HotSpot(TM) 64-Bit Server VM 18.9 (build 11.0.20+9-LTS-256, mixed mode)
2
3
4
# 安装Jenkins
sudo wget -O /etc/yum.repos.d/jenkins.repo https://pkg.jenkins.io/redhat-stable/jenkins.repo --no-check-certificate
sudo rpm --import https://pkg.jenkins.io/redhat-stable/jenkins.io-2023.key
yum install -y jenkins
如果 install 时报错,提示
warning: /var/cache/yum/x86_64/7/jenkins/packages/jenkins-2.414.2-1.1.noarch.rpm: Header V4 RSA/SHA512 Signature, key ID ef5975ca: NOKEY


Public key for jenkins-2.414.2-1.1.noarch.rpm is not installed
1
2
3
4可以访问:https://pkg.jenkins.io/redhat-stable (opens new window)查看安装命令
# 配置Jenkins使用端口
默认:8080,修改配置文件vim /etc/sysconfig/jenkins
JENKINS_PORT="8080"
# 修改Jendins存储路径
修改vim /etc/sysconfig/jenkins
JENKINS_HOME=/var/lib/jendins
更改路径后,要手动创建这个目录
# 配置权限
配置权限,修改为root,修改文件vim /etc/sysconfig/jenkins
JENKINS_USER="root"
修改目录权限
chown -R root:root /var/lib/jenkins

chown -R root:root /var/cache/jenkins

chown -R root:root /var/log/jenkins
2
3
4
5
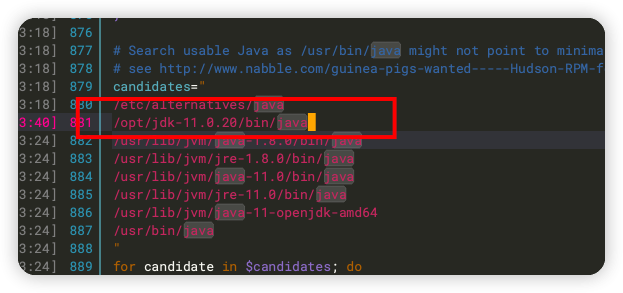
编辑jenkins的配置文件:
vim /etc/init.d/jenkins
启动jenkins
cd /etc/init.d
#重启jenkins
./jenkins restart
#启动jenkins
./jenkins start
#查看jenkins状态
./jenkins status
2
3
4
5
6
7
查看运行状态
./jenkins status
jenkins (pid  9189) is running...
2
访问Jenkins:http://172.16.24.211:8080/
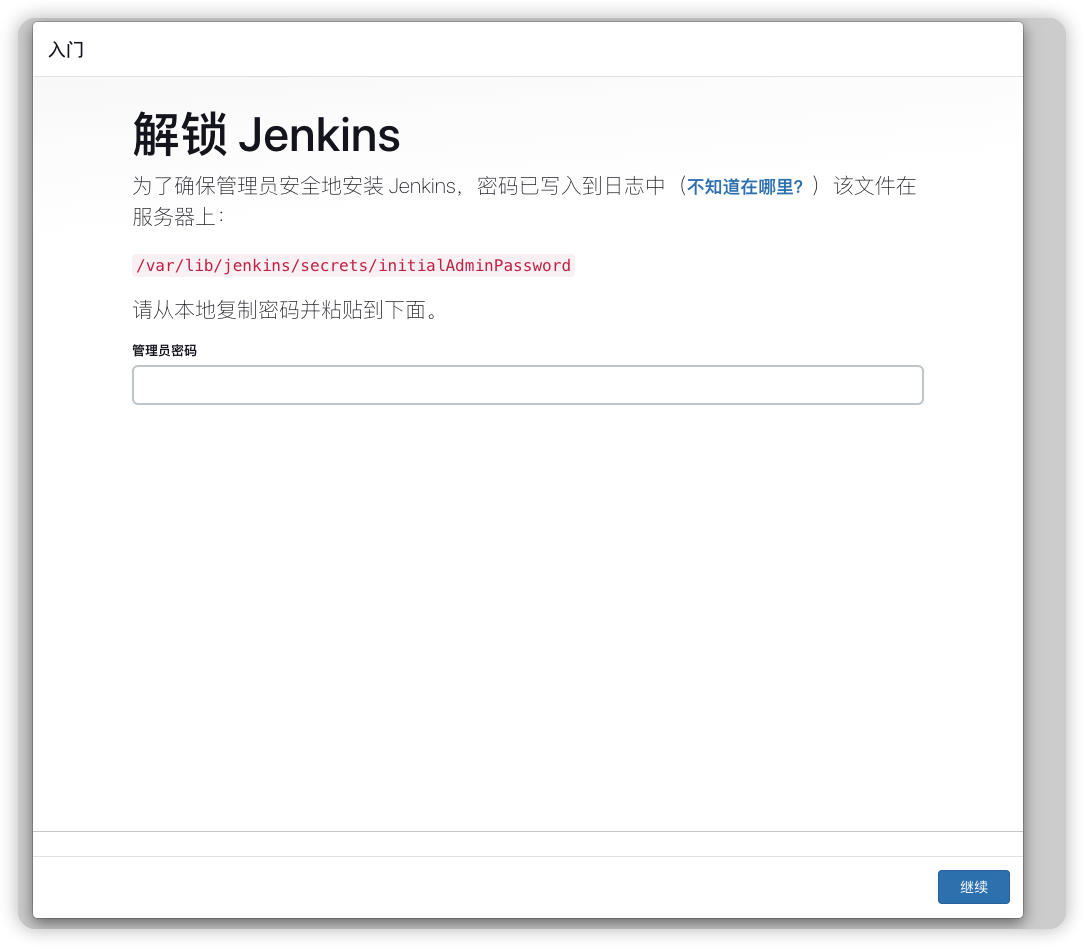
输入管理员密码,查看密码
cat /var/lib/jenkins/secrets/initialAdminPassword
下一步,提示离线
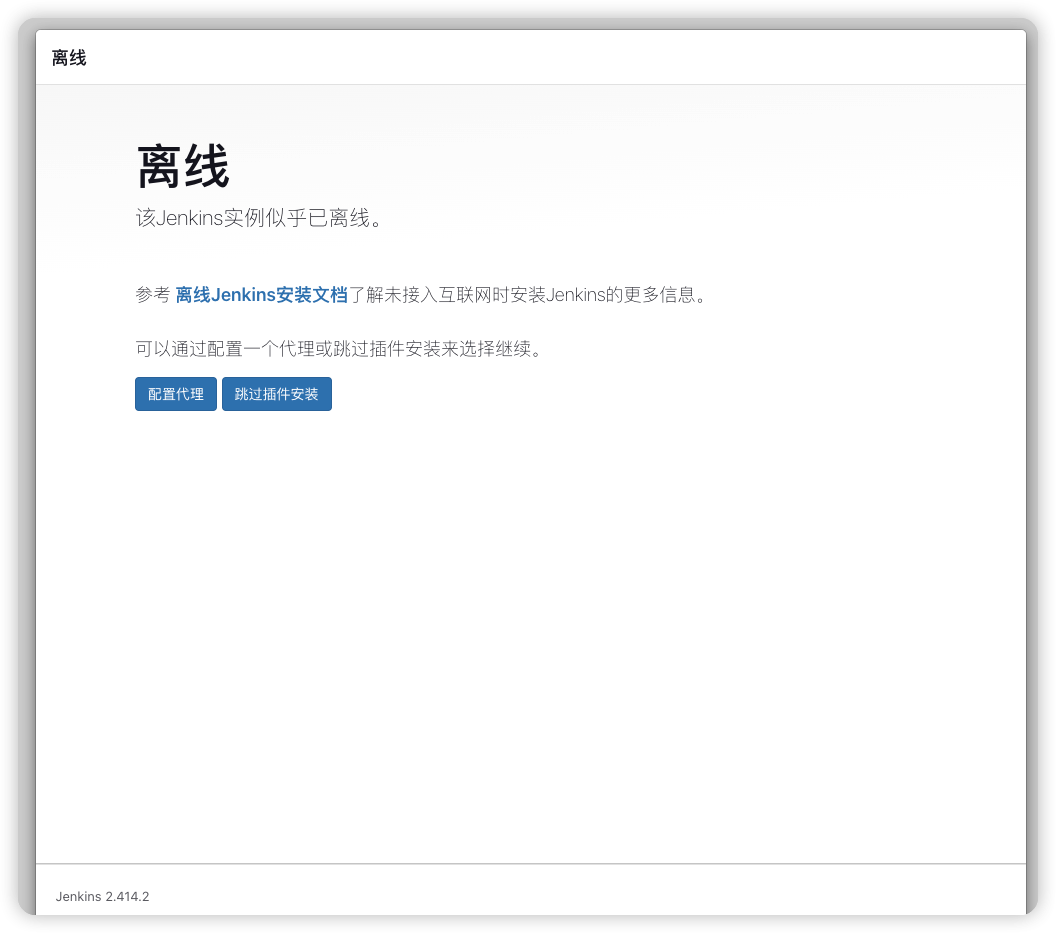
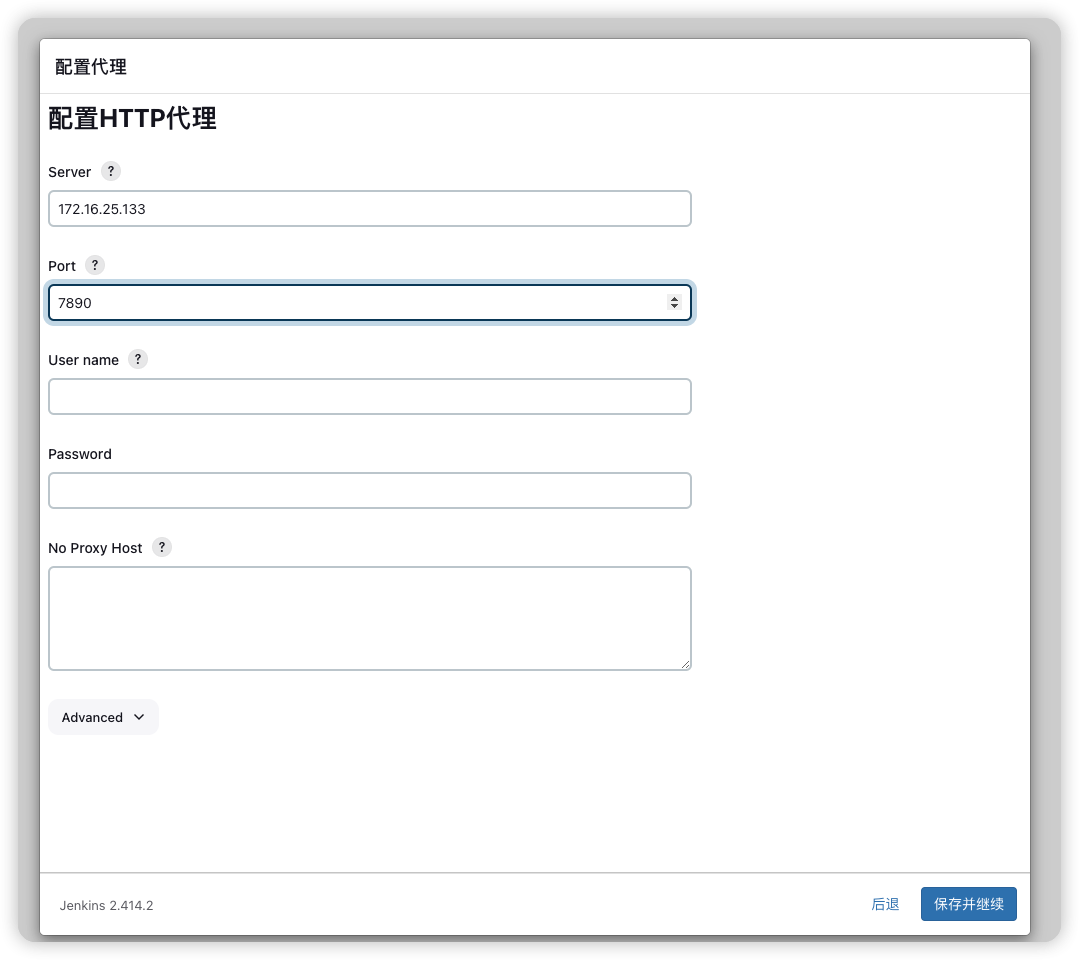
我的服务器访问不到Jenkins插件地址(这里看网络环境),这里我配置了代理
选择安装推荐的插件
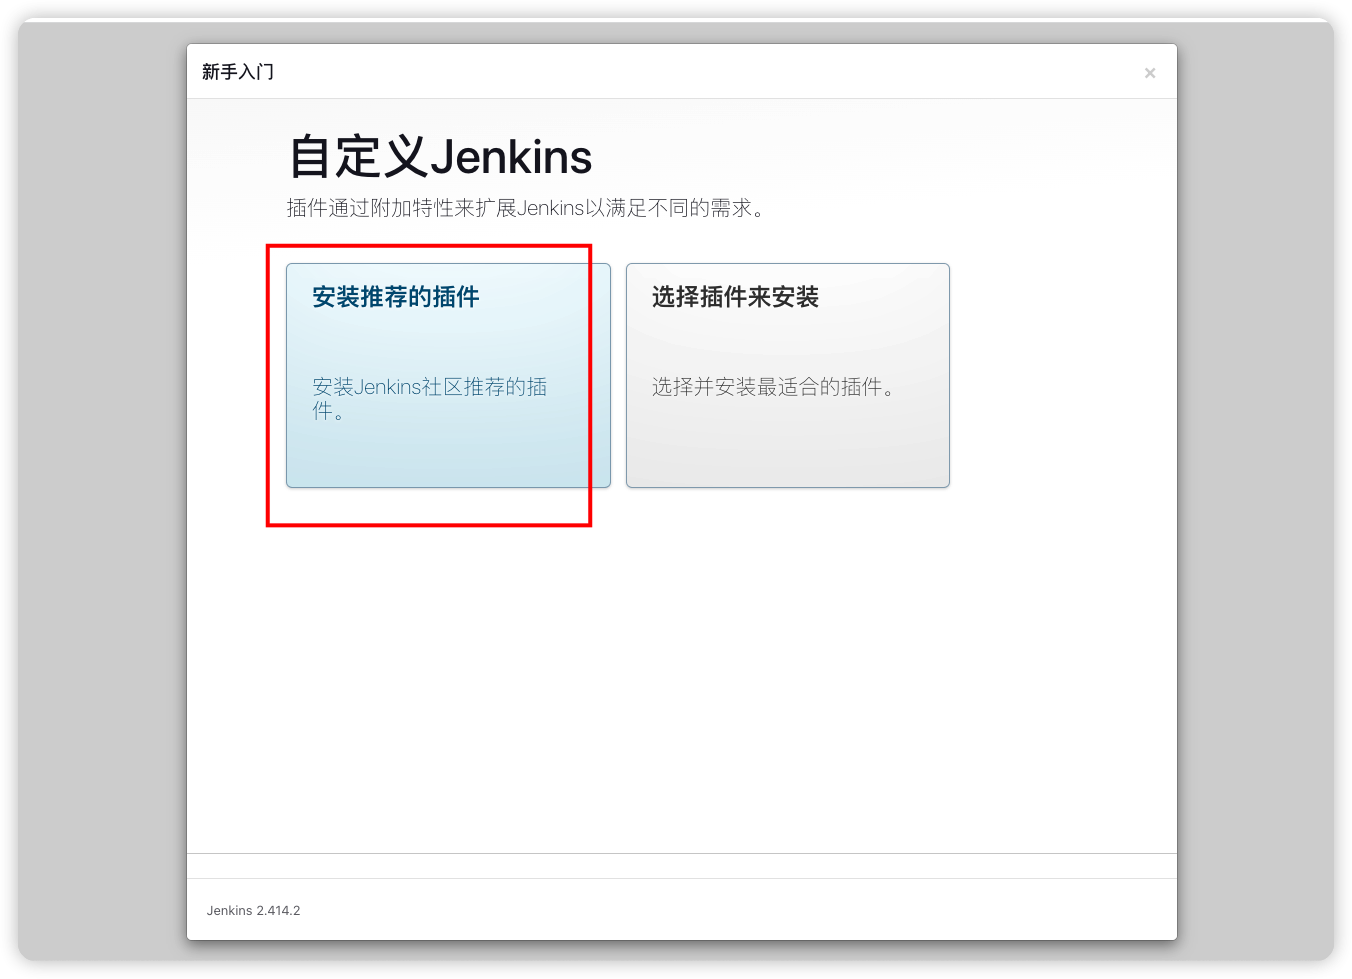
到下面这个页面后,就等待安装
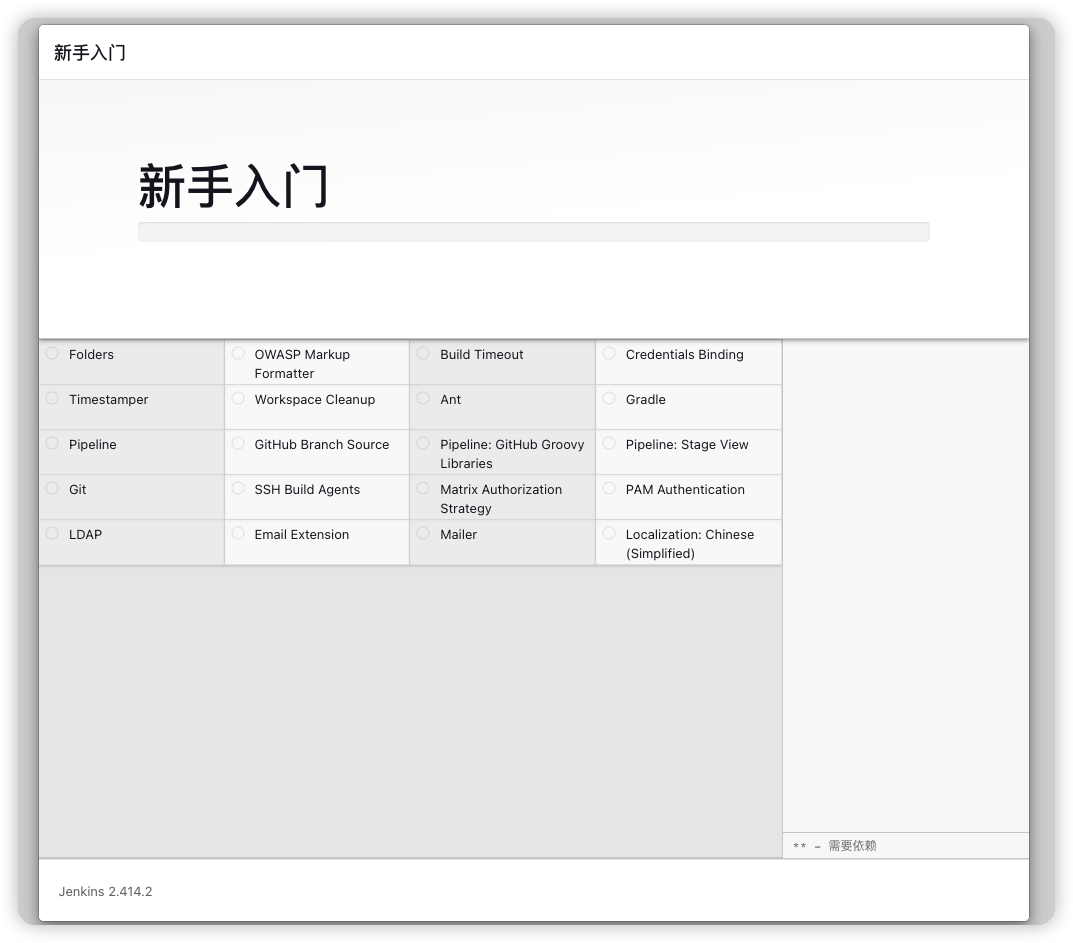
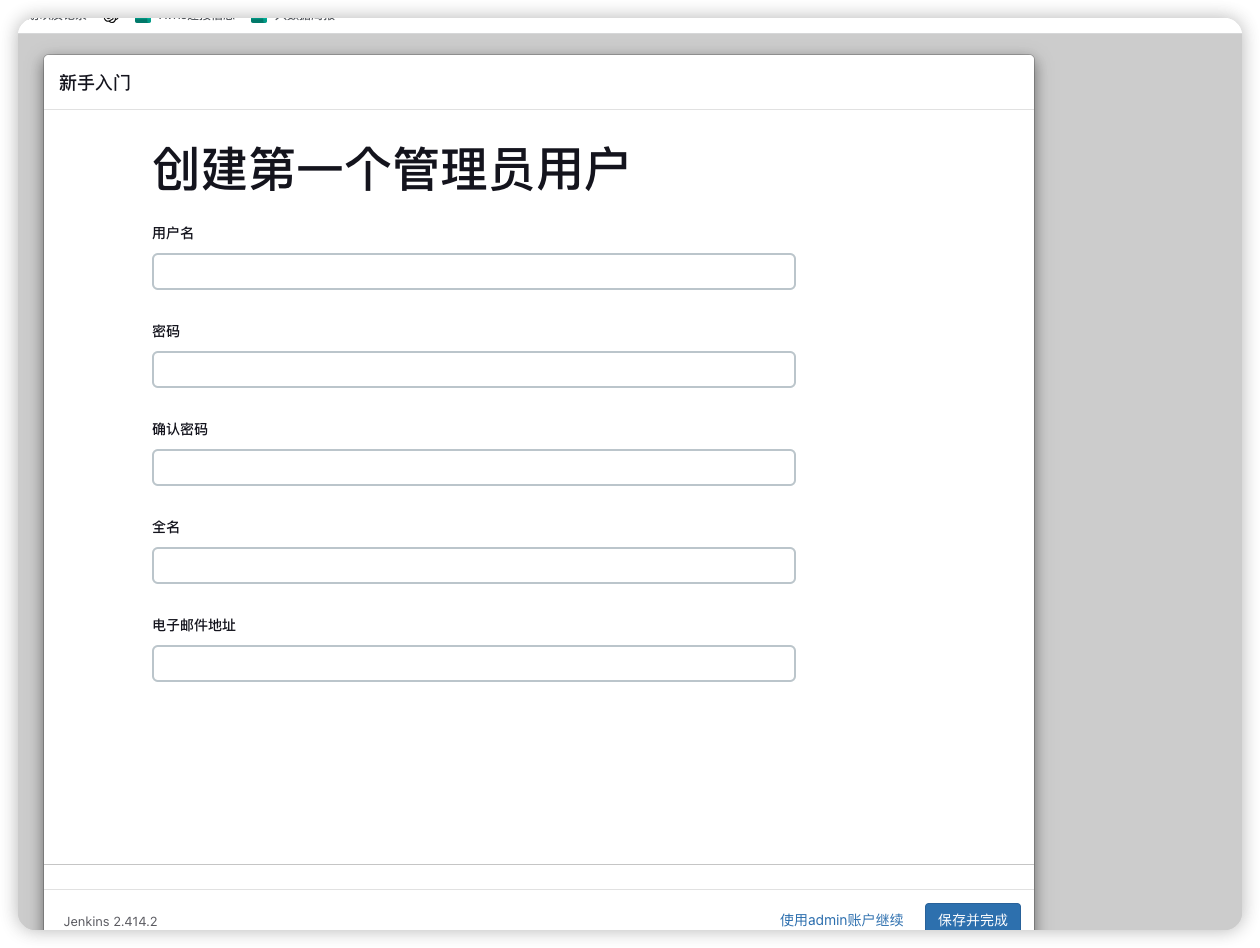
安装完成后进入创建管理员用户页面
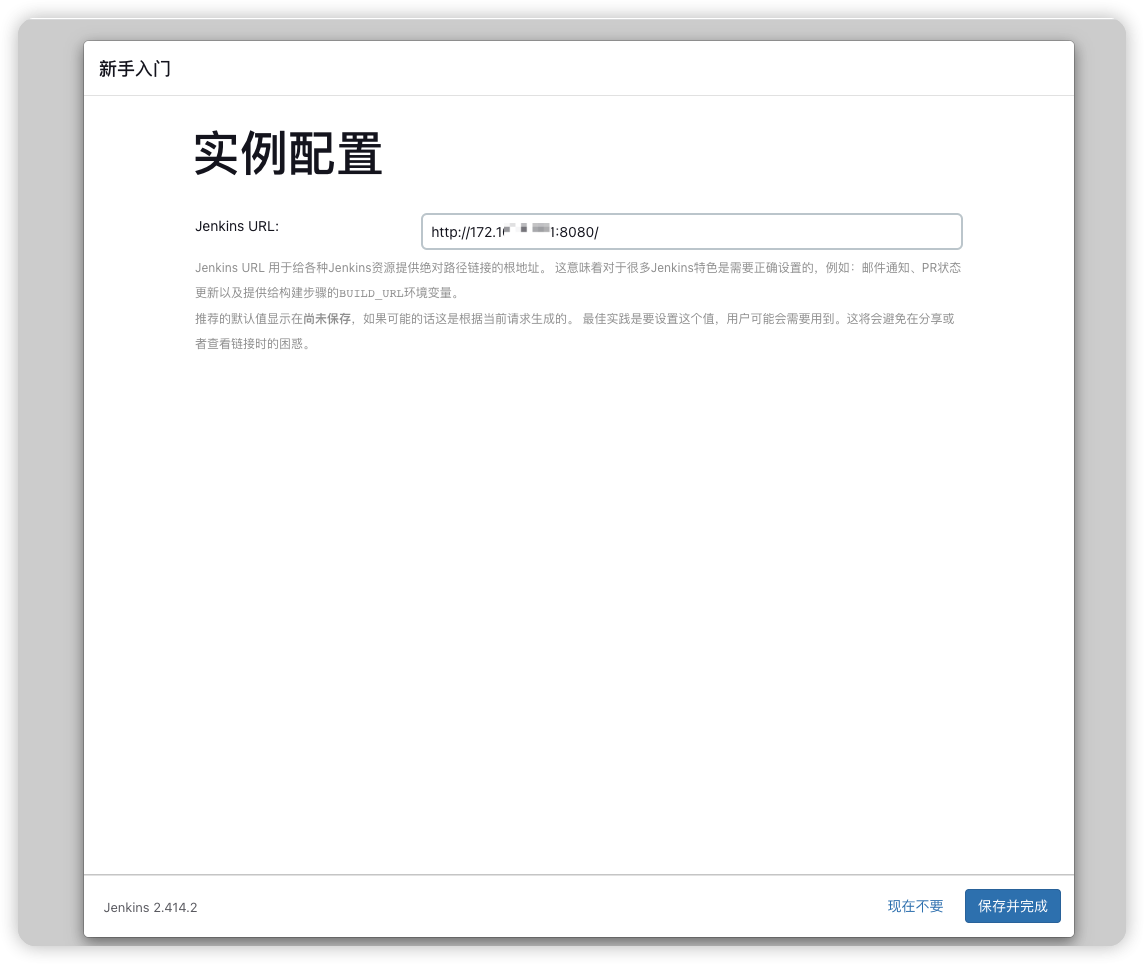
配置URL,默认的即可
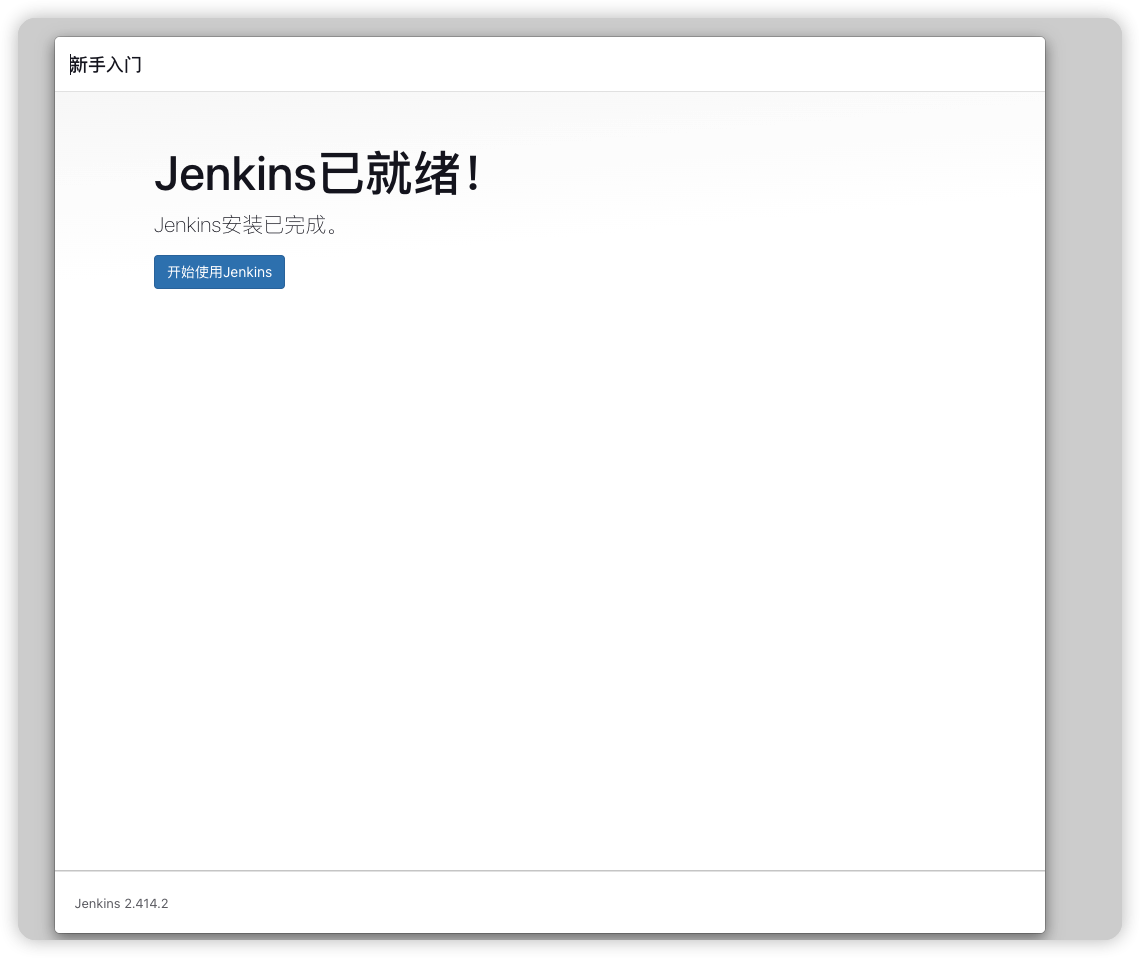
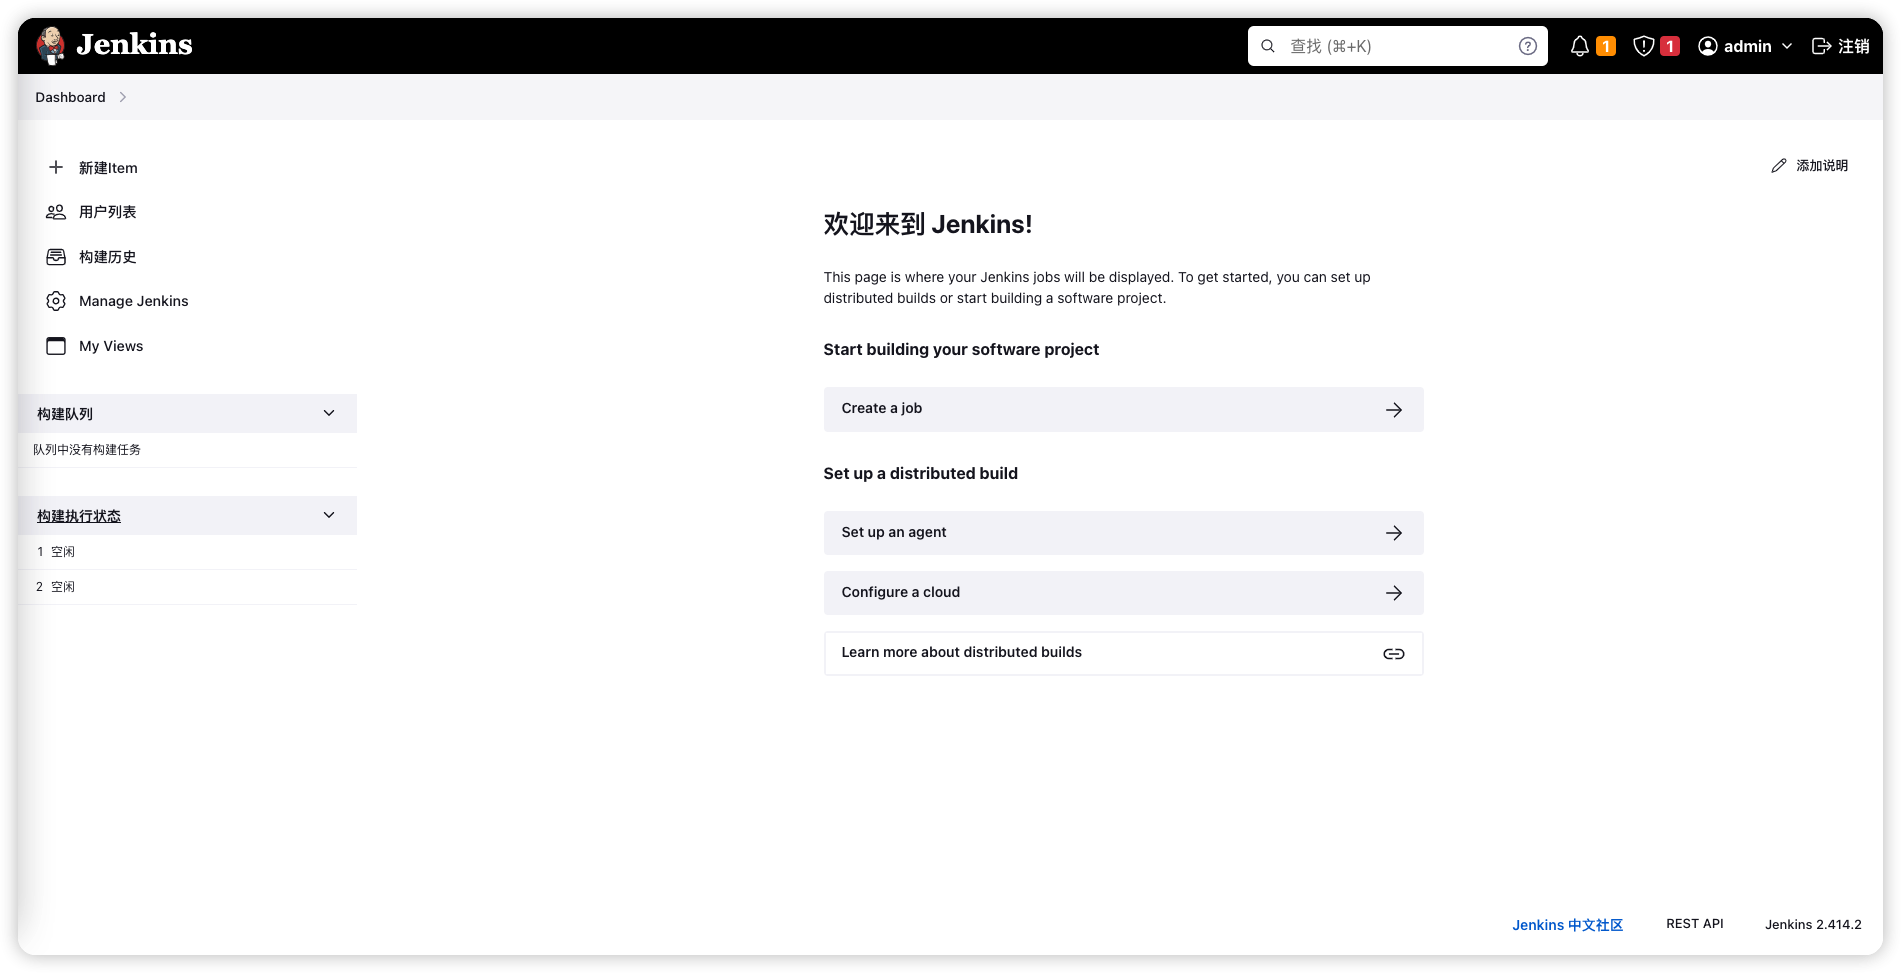
点击开始使用
# 安装Git
yum install -y git
查看是否安装成功
# git --version
git version 1.8.3.1
2
# 安装Maven
官网:https://maven.apache.org/download.cgi (opens new window)
wget https://dlcdn.apache.org/maven/maven-3/3.9.4/binaries/apache-maven-3.9.4-bin.tar.gz
解压
tar -zxvf apache-maven-3.9.4-bin.tar.gz
目录移动到/usr/local目录下
mv apache-maven-3.9.4 /usr/local/maven
修改Maven配置文件
cd /usr/local/maven/conf
vim settings.xml
2
全部内容
<?xml version="1.0" encoding="UTF-8"?>
<settings xmlns="http://maven.apache.org/SETTINGS/1.2.0"
          xmlns:xsi="http://www.w3.org/2001/XMLSchema-instance"
          xsi:schemaLocation="http://maven.apache.org/SETTINGS/1.2.0 https://maven.apache.org/xsd/settings-1.2.0.xsd">

  <pluginGroups>

  </pluginGroups>


  <proxies>

  </proxies>


  <servers>

  </servers>


  <mirrors>

  </mirrors>

  <profiles>
    		<profile>
        <id>repo1</id>
        <repositories>
            <repository>
                <id>repo1</id>
                <url>https://repo1.maven.org/maven2</url>
                <releases>
                    <enabled>true</enabled>
                </releases>
                <snapshots>
                    <enabled>true</enabled>
                    <updatePolicy>always</updatePolicy>
                </snapshots>
            </repository>
        </repositories>
    </profile>

    <profile>
        <id>cloudera</id>
        <repositories>
            <repository>
                <id>cloudera</id>
                <url>https://repository.cloudera.com/artifactory/cloudera-repos</url>
                <releases>
                    <enabled>true</enabled>
                </releases>
                <snapshots>
                    <enabled>true</enabled>
                    <updatePolicy>always</updatePolicy>
                </snapshots>
            </repository>
        </repositories>
    </profile>
<profile>
        <id>huaweicloud</id>
        <repositories>
            <repository>
                <id>huaweicloud</id>
                <url>https://mirrors.huaweicloud.com/repository/maven/</url>
                <releases>
                    <enabled>true</enabled>
                </releases>
                <snapshots>
                    <enabled>true</enabled>
                    <updatePolicy>always</updatePolicy>
                </snapshots>
            </repository>
        </repositories>
    </profile>
    <profile>
        <id>aliyun</id>
        <repositories>
            <repository>
                <id>aliyun</id>
                <url>http://maven.aliyun.com/nexus/content/groups/public</url>
                <releases>
                    <enabled>true</enabled>
                </releases>
                <snapshots>
                    <enabled>true</enabled>
                    <updatePolicy>always</updatePolicy>
                </snapshots>
            </repository>
        </repositories>
    </profile>


  </profiles>

  <activeProfiles>
    <activeProfile>huaweicloud</activeProfile>
    <activeProfile>nexus-rbt</activeProfile>
    <activeProfile>repo1</activeProfile>
    <activeProfile>aliyun</activeProfile>
    <activeProfile>cloudera</activeProfile>
  </activeProfiles>

</settings>
2
3
4
5
6
7
8
9
10
11
12
13
14
15
16
17
18
19
20
21
22
23
24
25
26
27
28
29
30
31
32
33
34
35
36
37
38
39
40
41
42
43
44
45
46
47
48
49
50
51
52
53
54
55
56
57
58
59
60
61
62
63
64
65
66
67
68
69
70
71
72
73
74
75
76
77
78
79
80
81
82
83
84
85
86
87
88
89
90
91
92
93
94
95
96
97
98
99
100
101
102
103
104
添加环境变量
vim /etc/profile

export M2_HOME=/usr/local/maven/
export PATH=$M2_HOME/bin:$PATH
2
3
4
更新环境变量
source /etc/profile
验证
# mvn -v
Apache Maven 3.9.4 (dfbb324ad4a7c8fb0bf182e6d91b0ae20e3d2dd9)
Maven home: /usr/local/maven
Java version: 11.0.20, vendor: Oracle Corporation, runtime: /opt/jdk-11.0.20
Default locale: en_US, platform encoding: UTF-8
OS name: "linux", version: "3.10.0-1160.95.1.el7.x86_64", arch: "amd64", family: "unix"
2
3
4
5
6
# 添加服务器节点
- 服务器节点需要安装JDK11
- 配置之前在Jenkins服务器通过ssh连接一下从节点,输入yes即可,不然无法安装成功从节点
# ssh 172.16.84.19
The authenticity of host '172.16.84.19 (172.16.84.19)' can't be established.
ECDSA key fingerprint is SHA256:/VZpxzlzpZqNTgoUR+XWXsnypMdq6n/q+/kWbirNxMo.
Are you sure you want to continue connecting (yes/no/[fingerprint])? yes
2
3
4
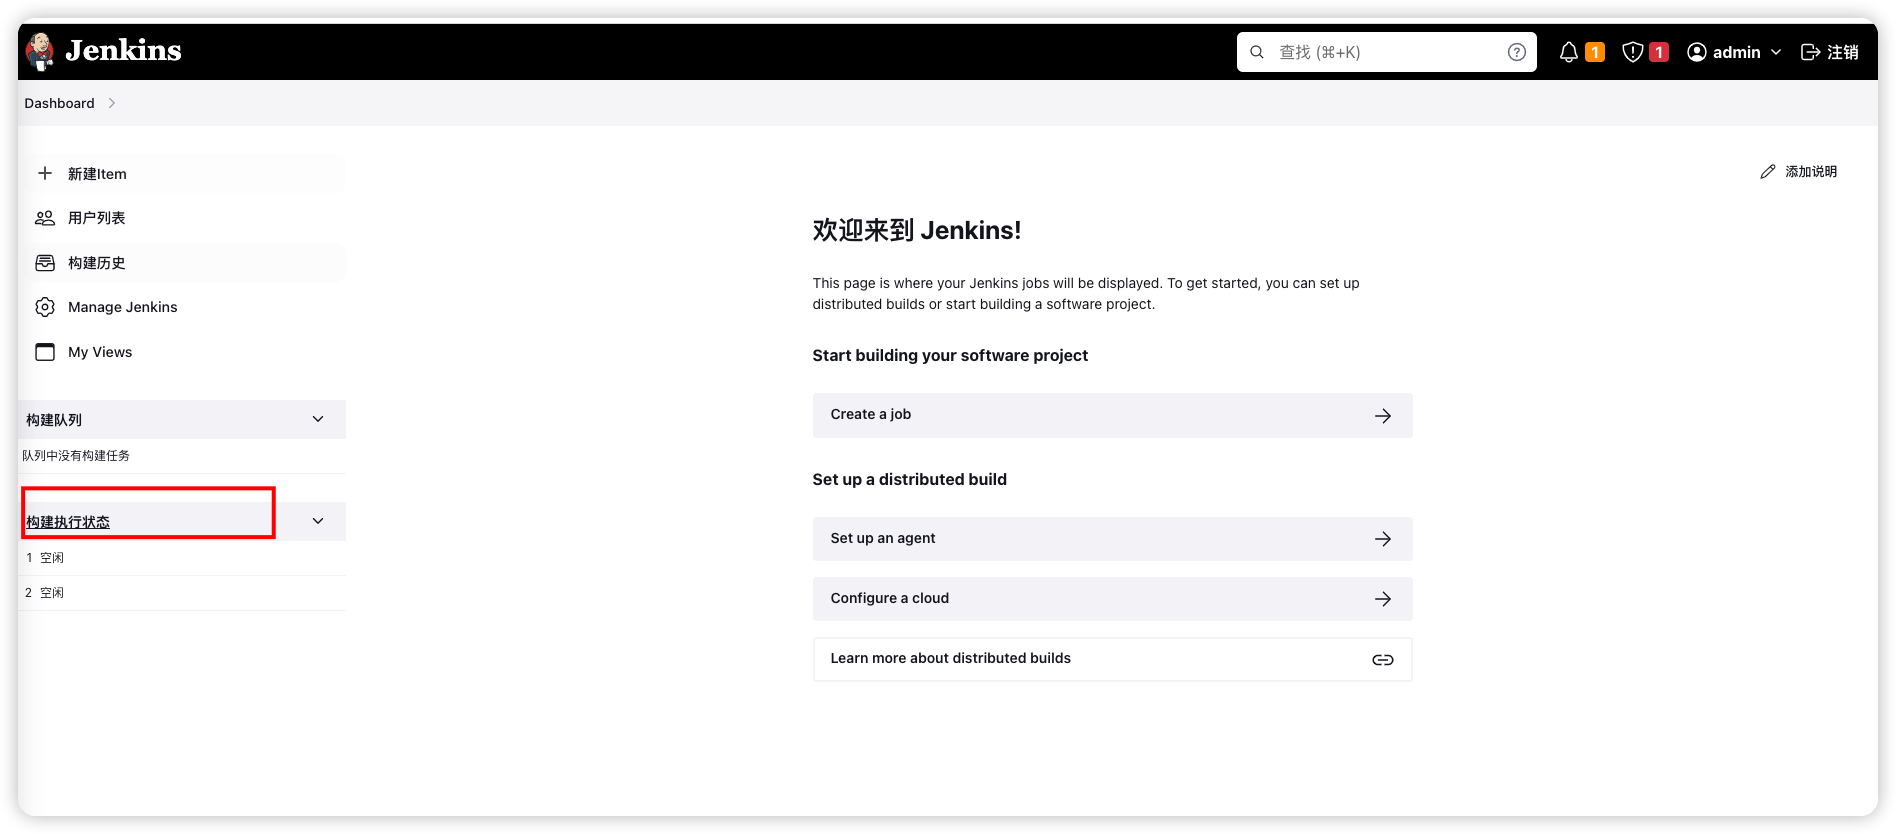
点击构建执行状态
点击New Node
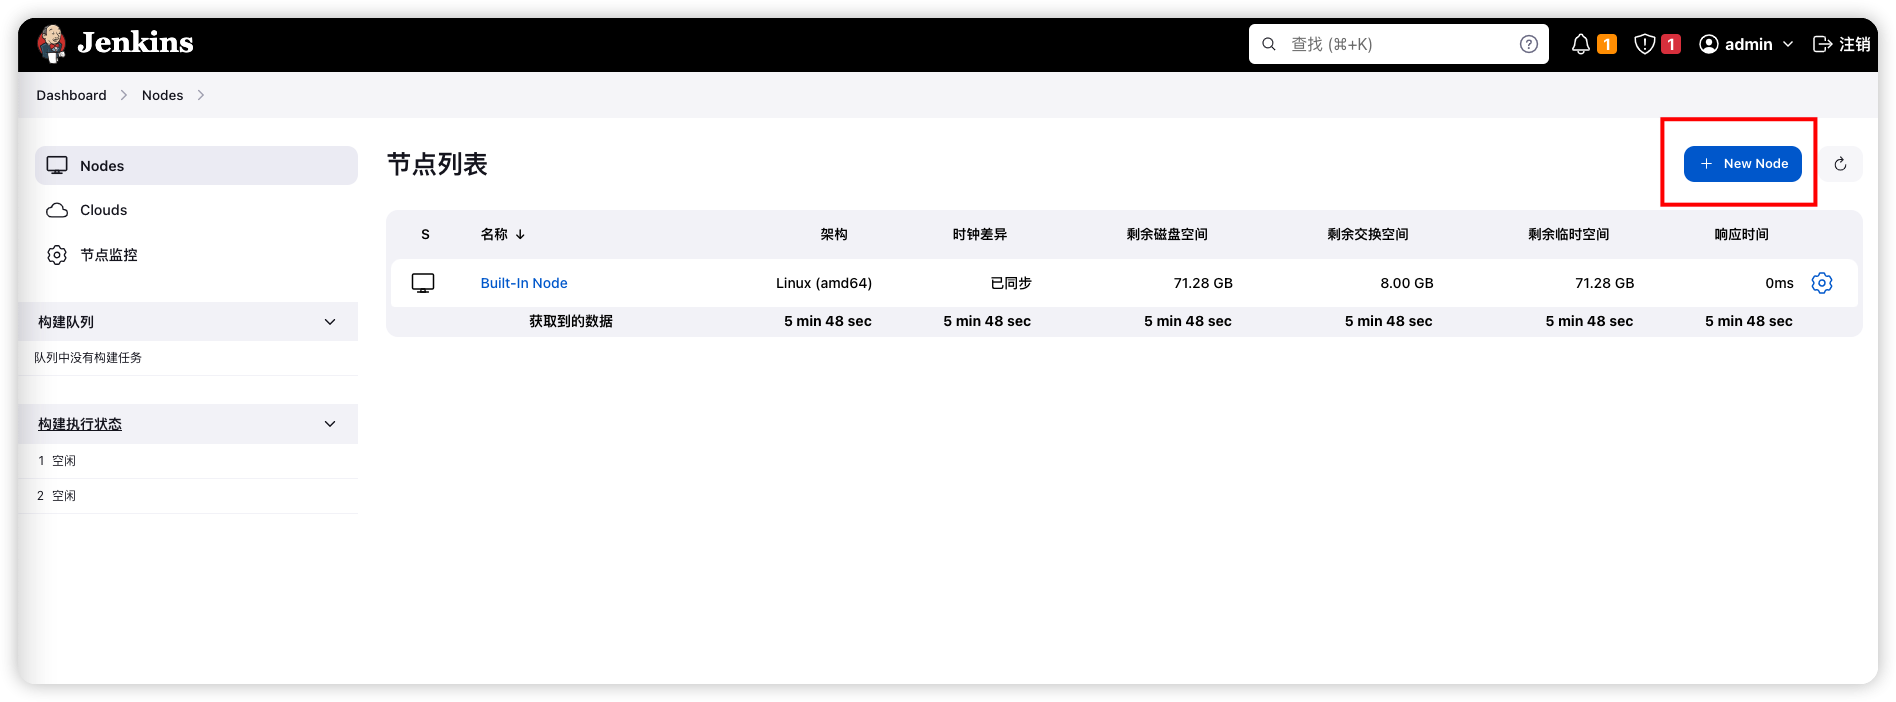
添加新节点
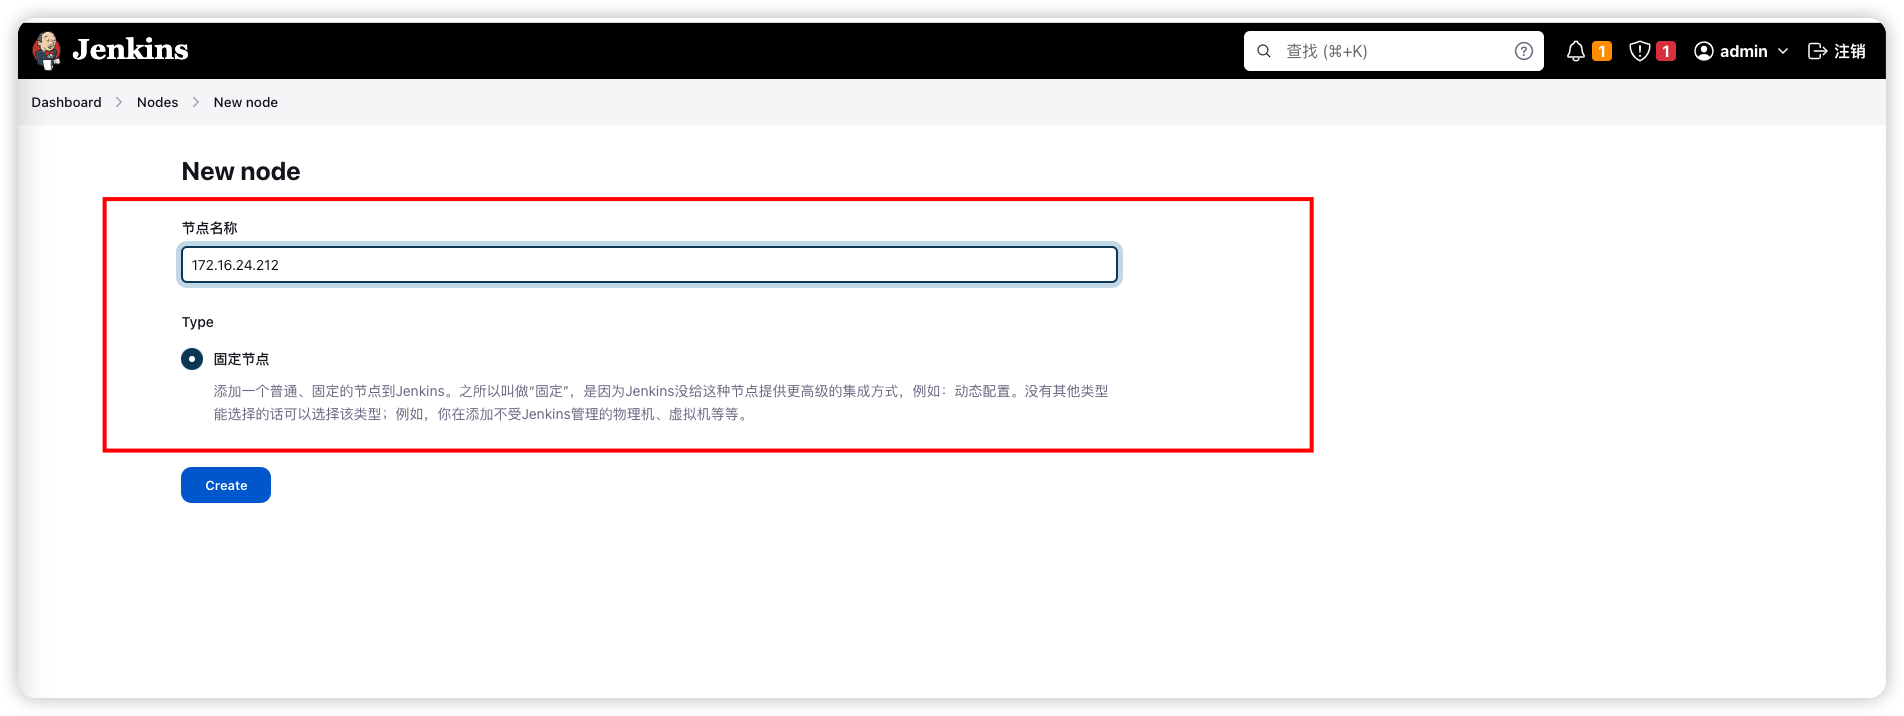
填写配置
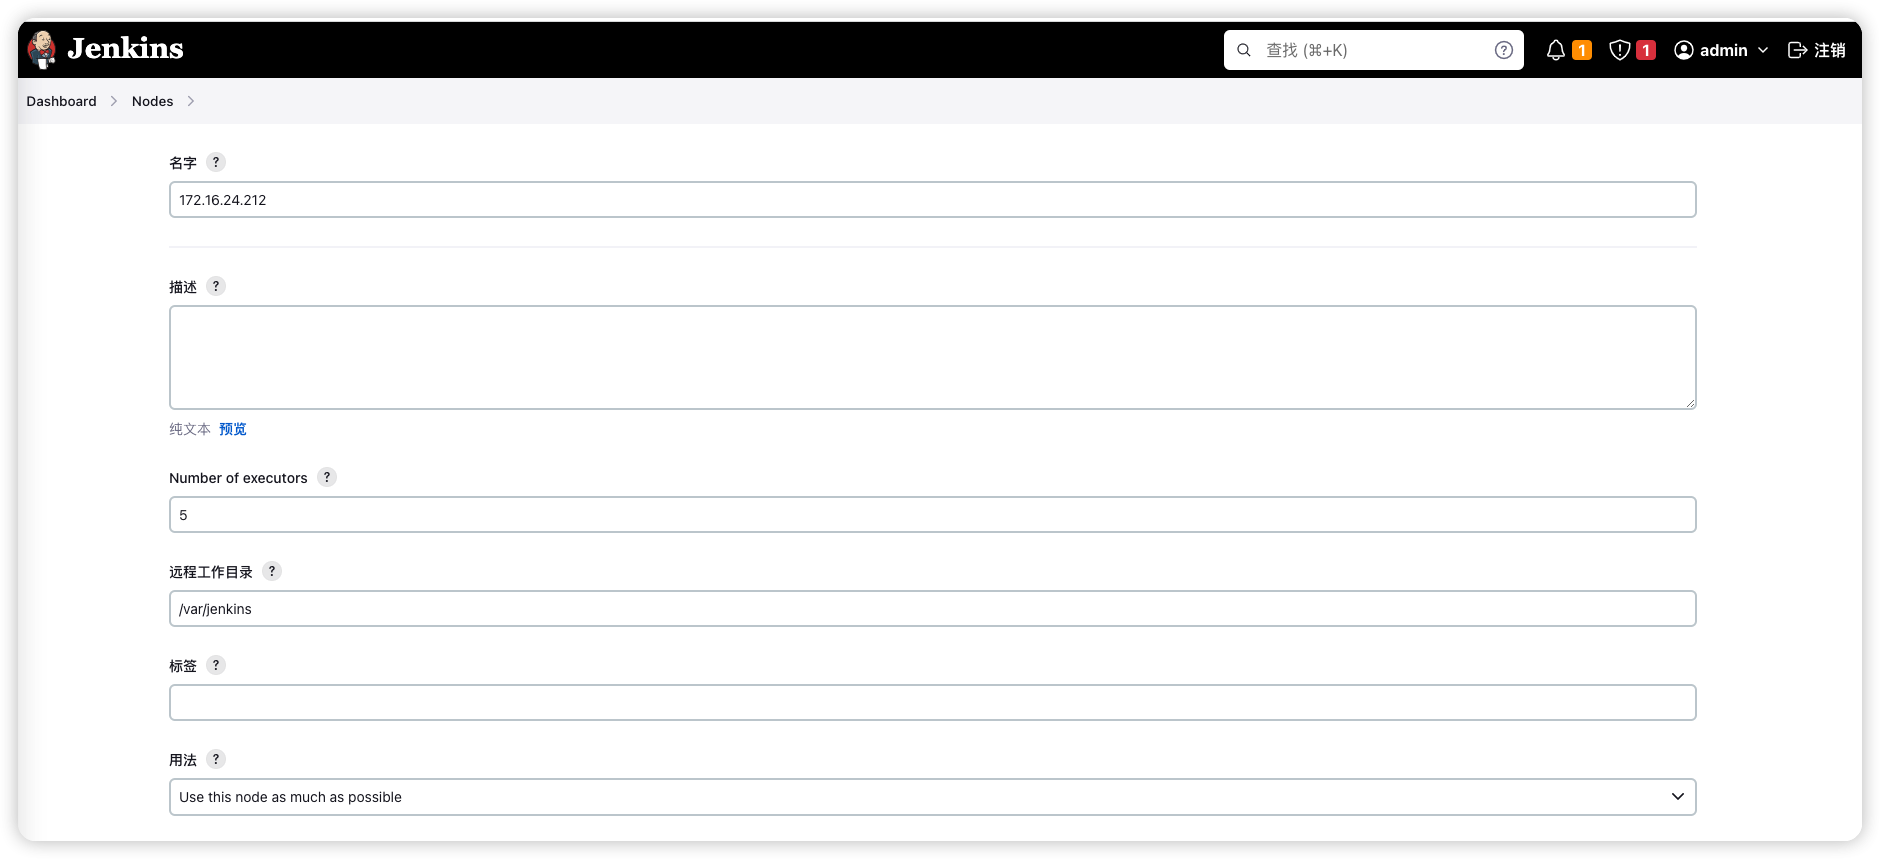

点击添加凭证后,填写服务器账号密码
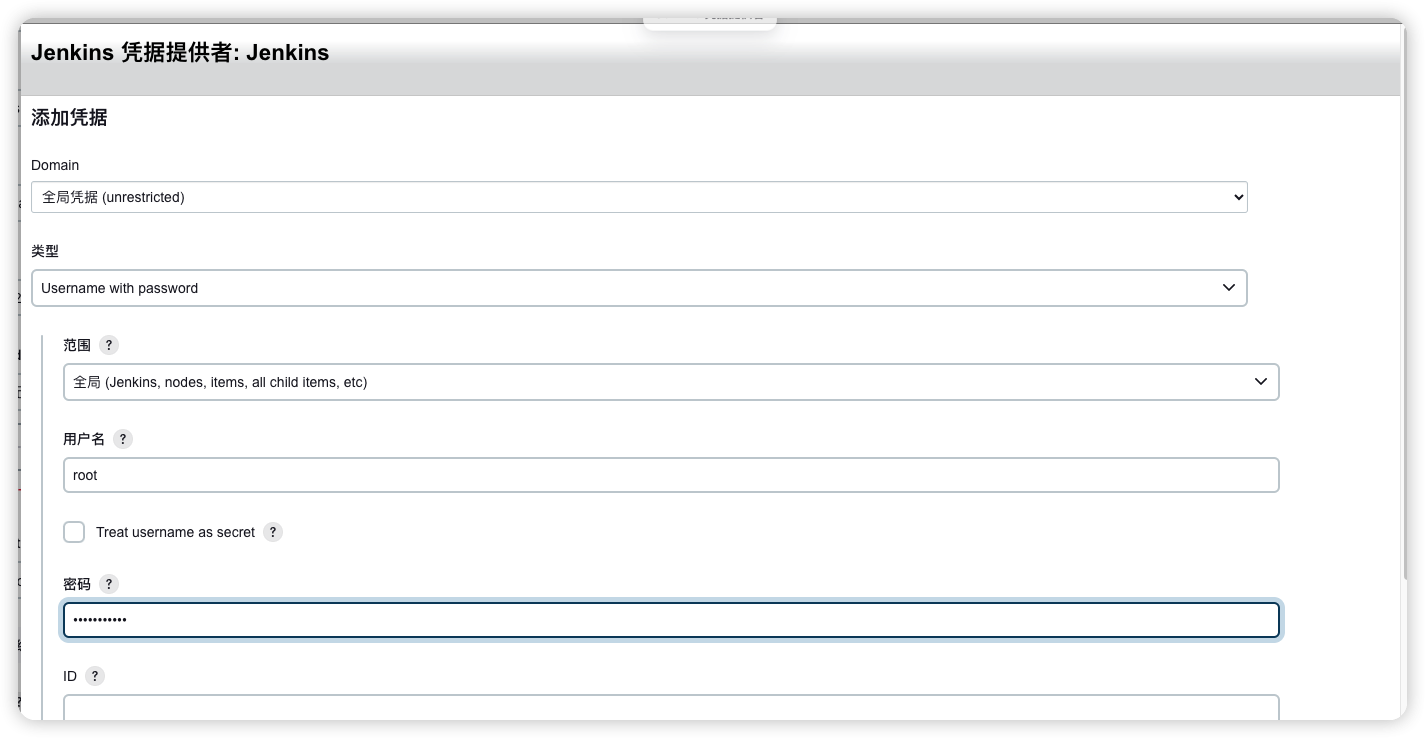
填写描述后面好分我们配置的账号密码

点击添加
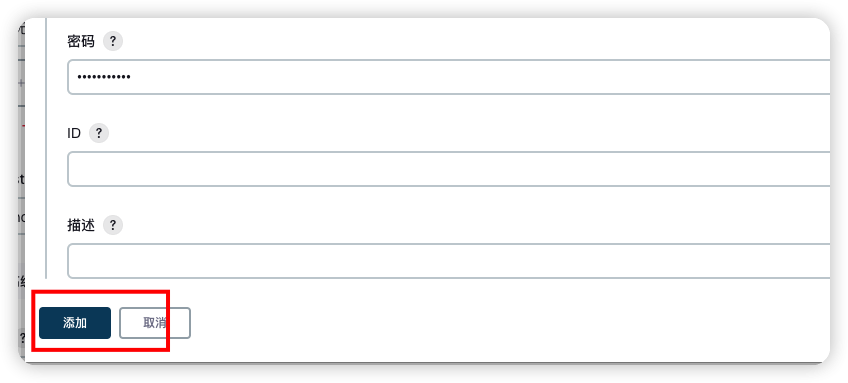
选择我们刚刚设置的凭证
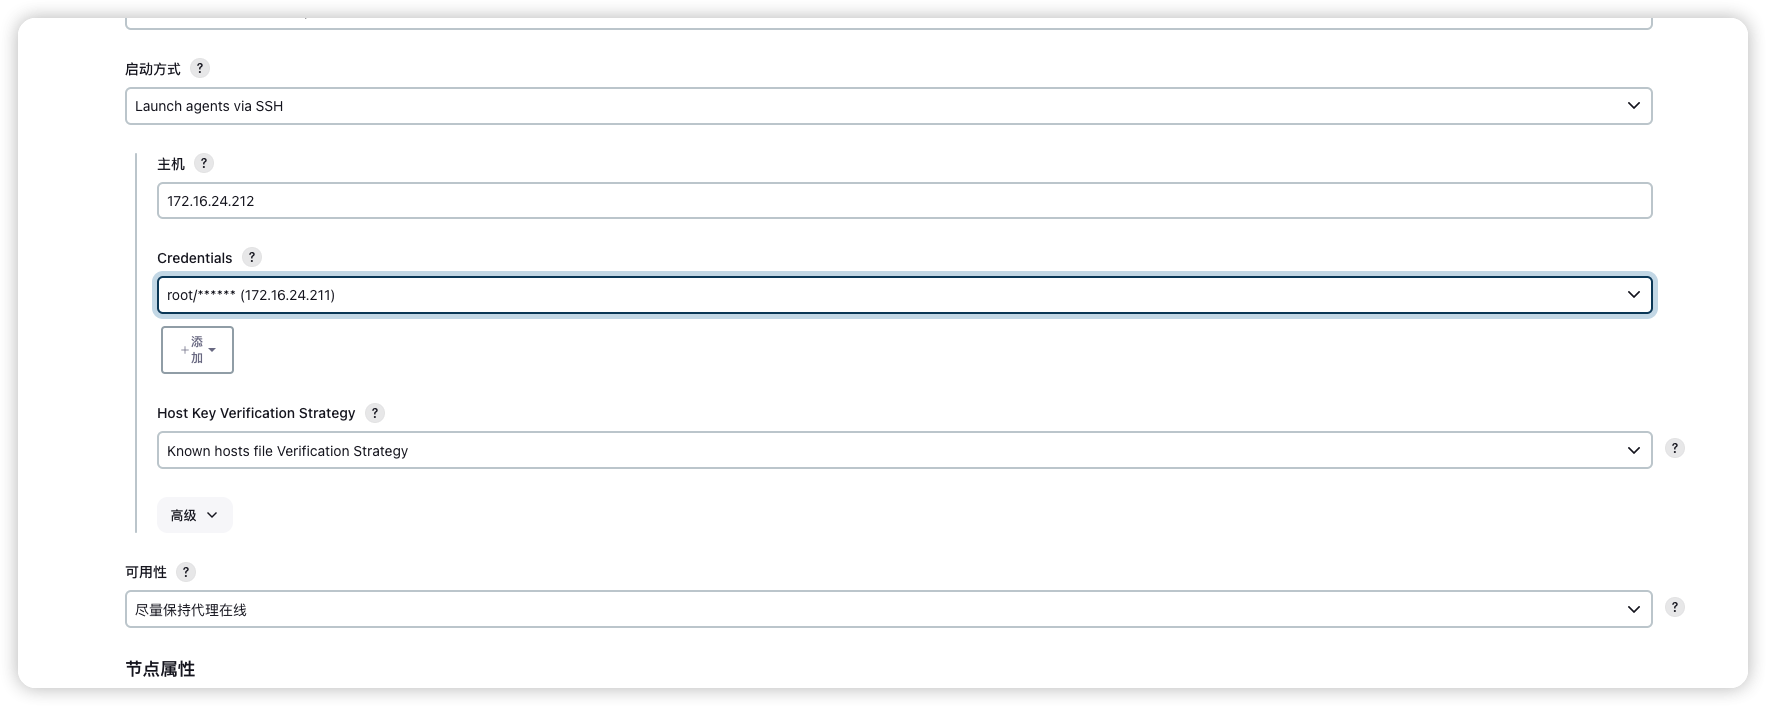
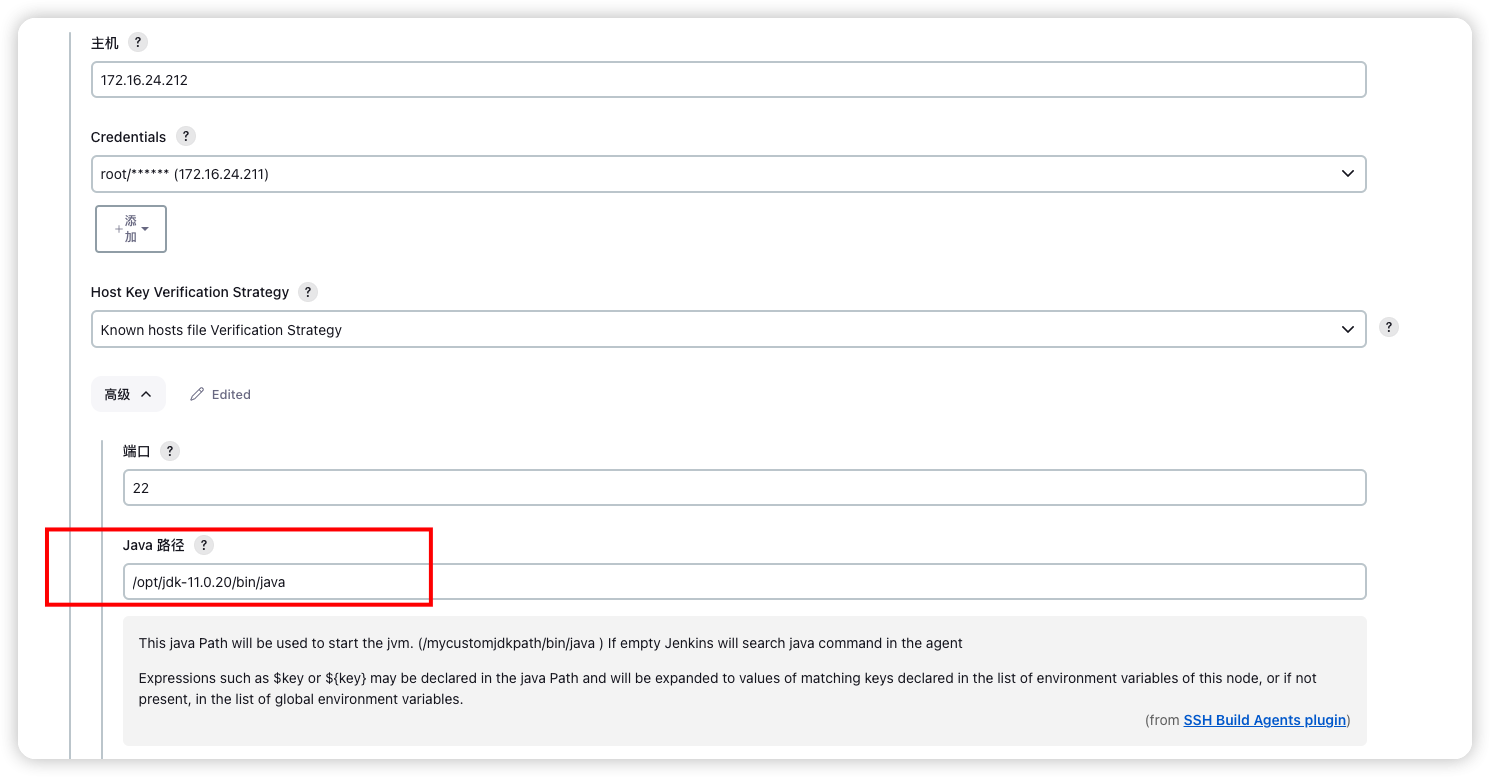
配置Jenkins使用的jdk路径
完整配置如下
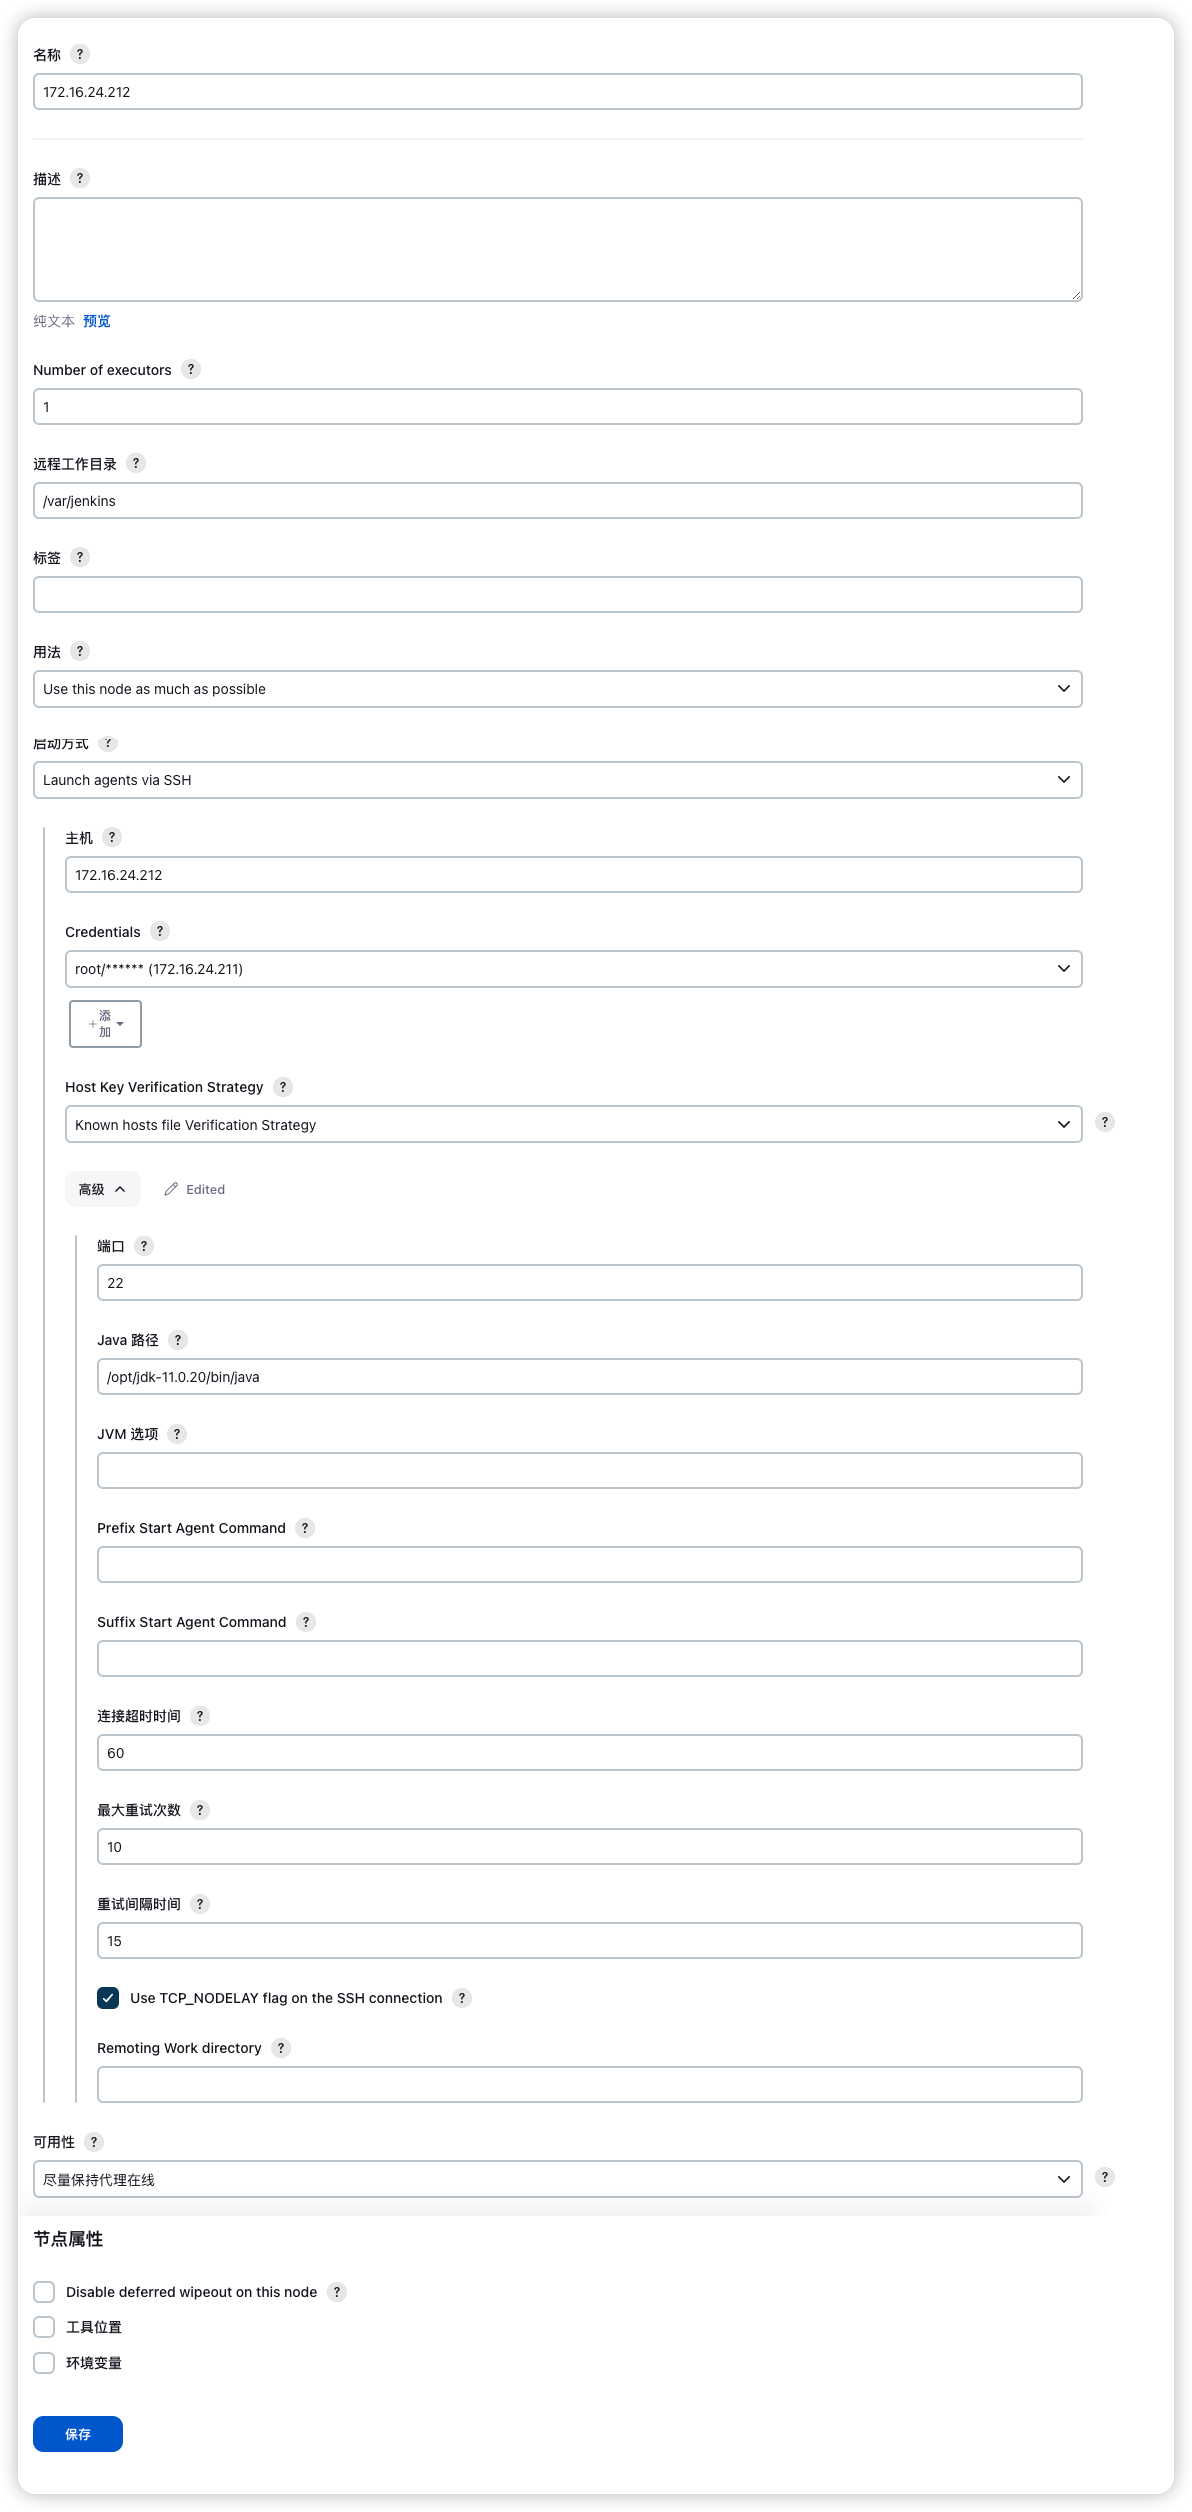
点击保存
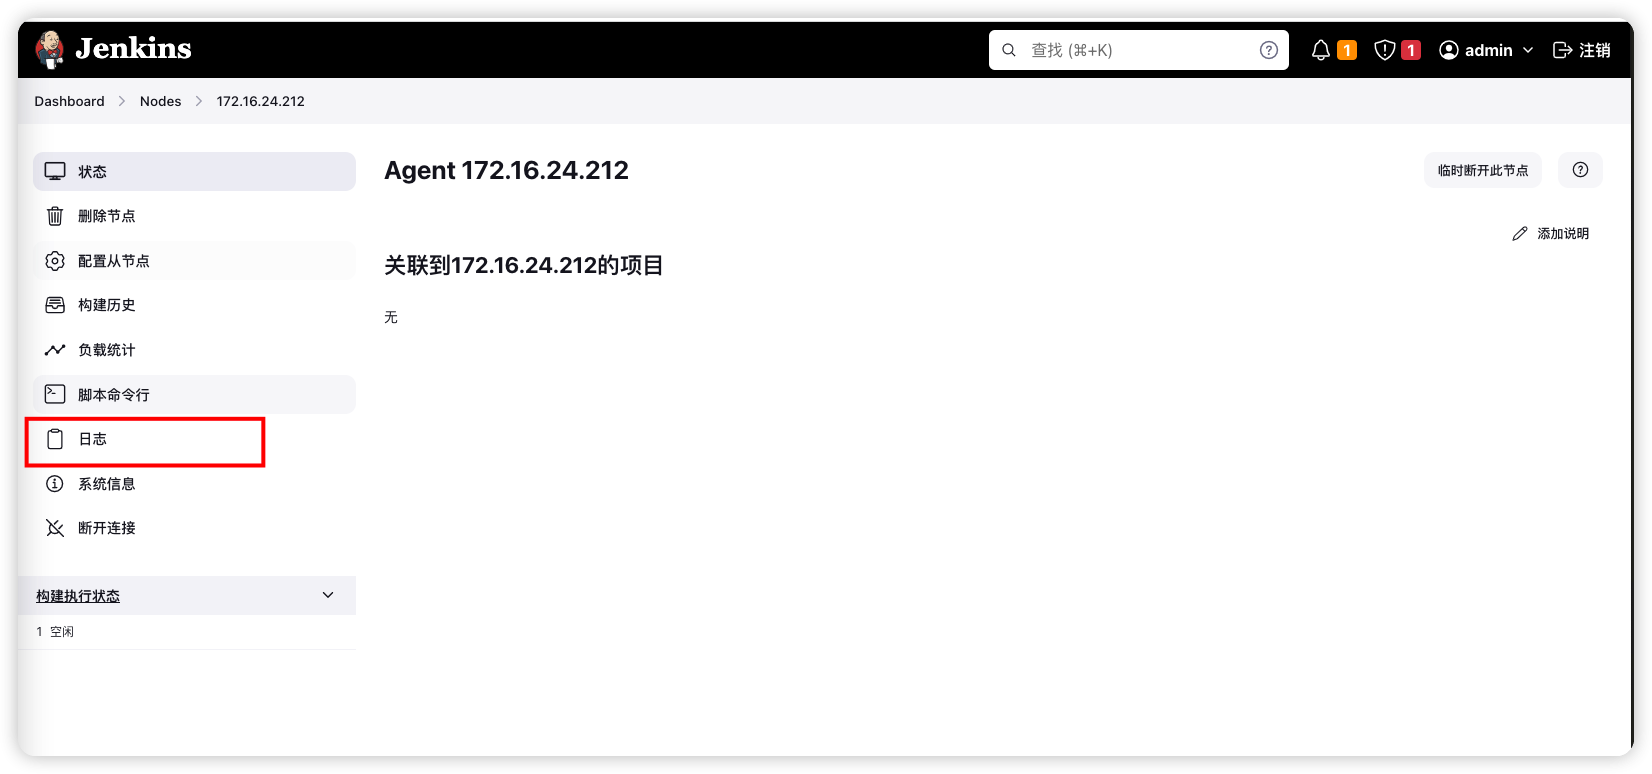
可以在节点中看到添加成功
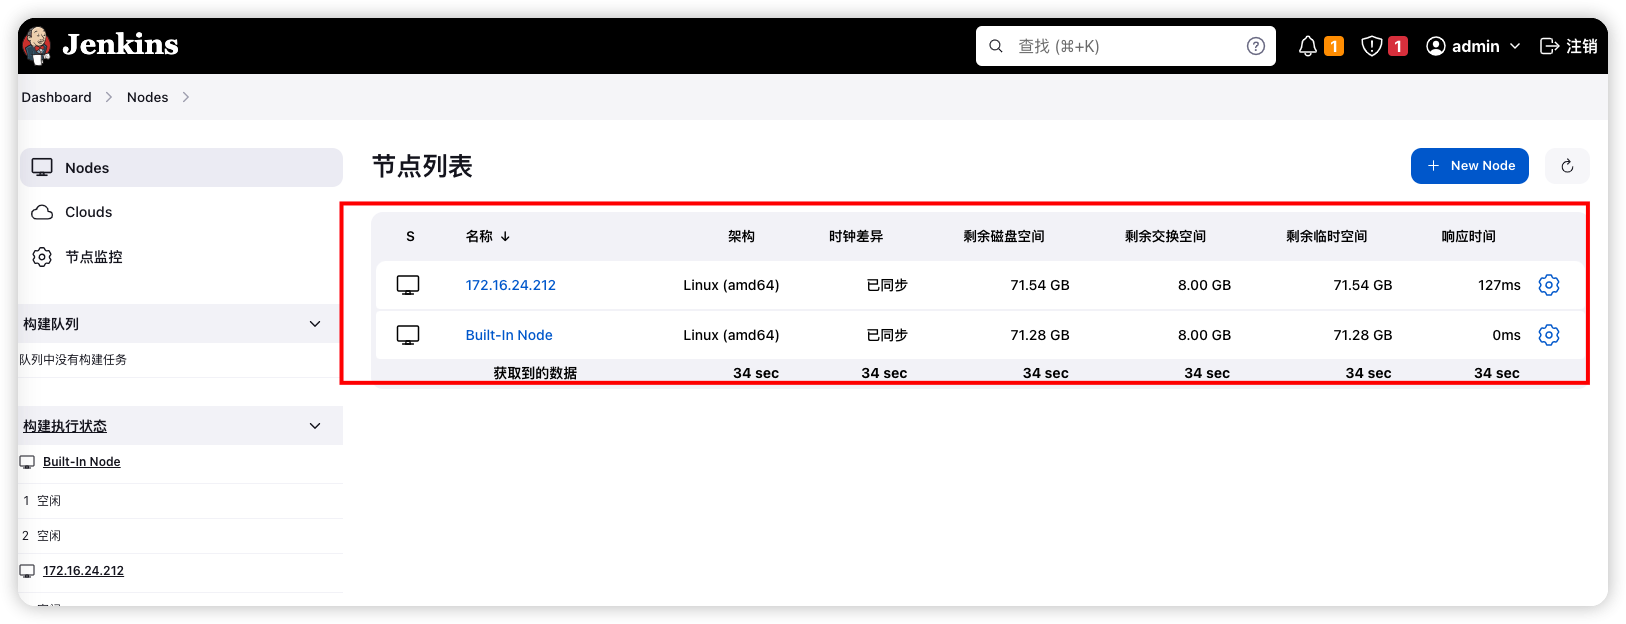
如果失败可以在日志页面查看具体原因
# 安装SSH插件
进入 Dashboard -> Manage Jenkins -> Plugins 页面
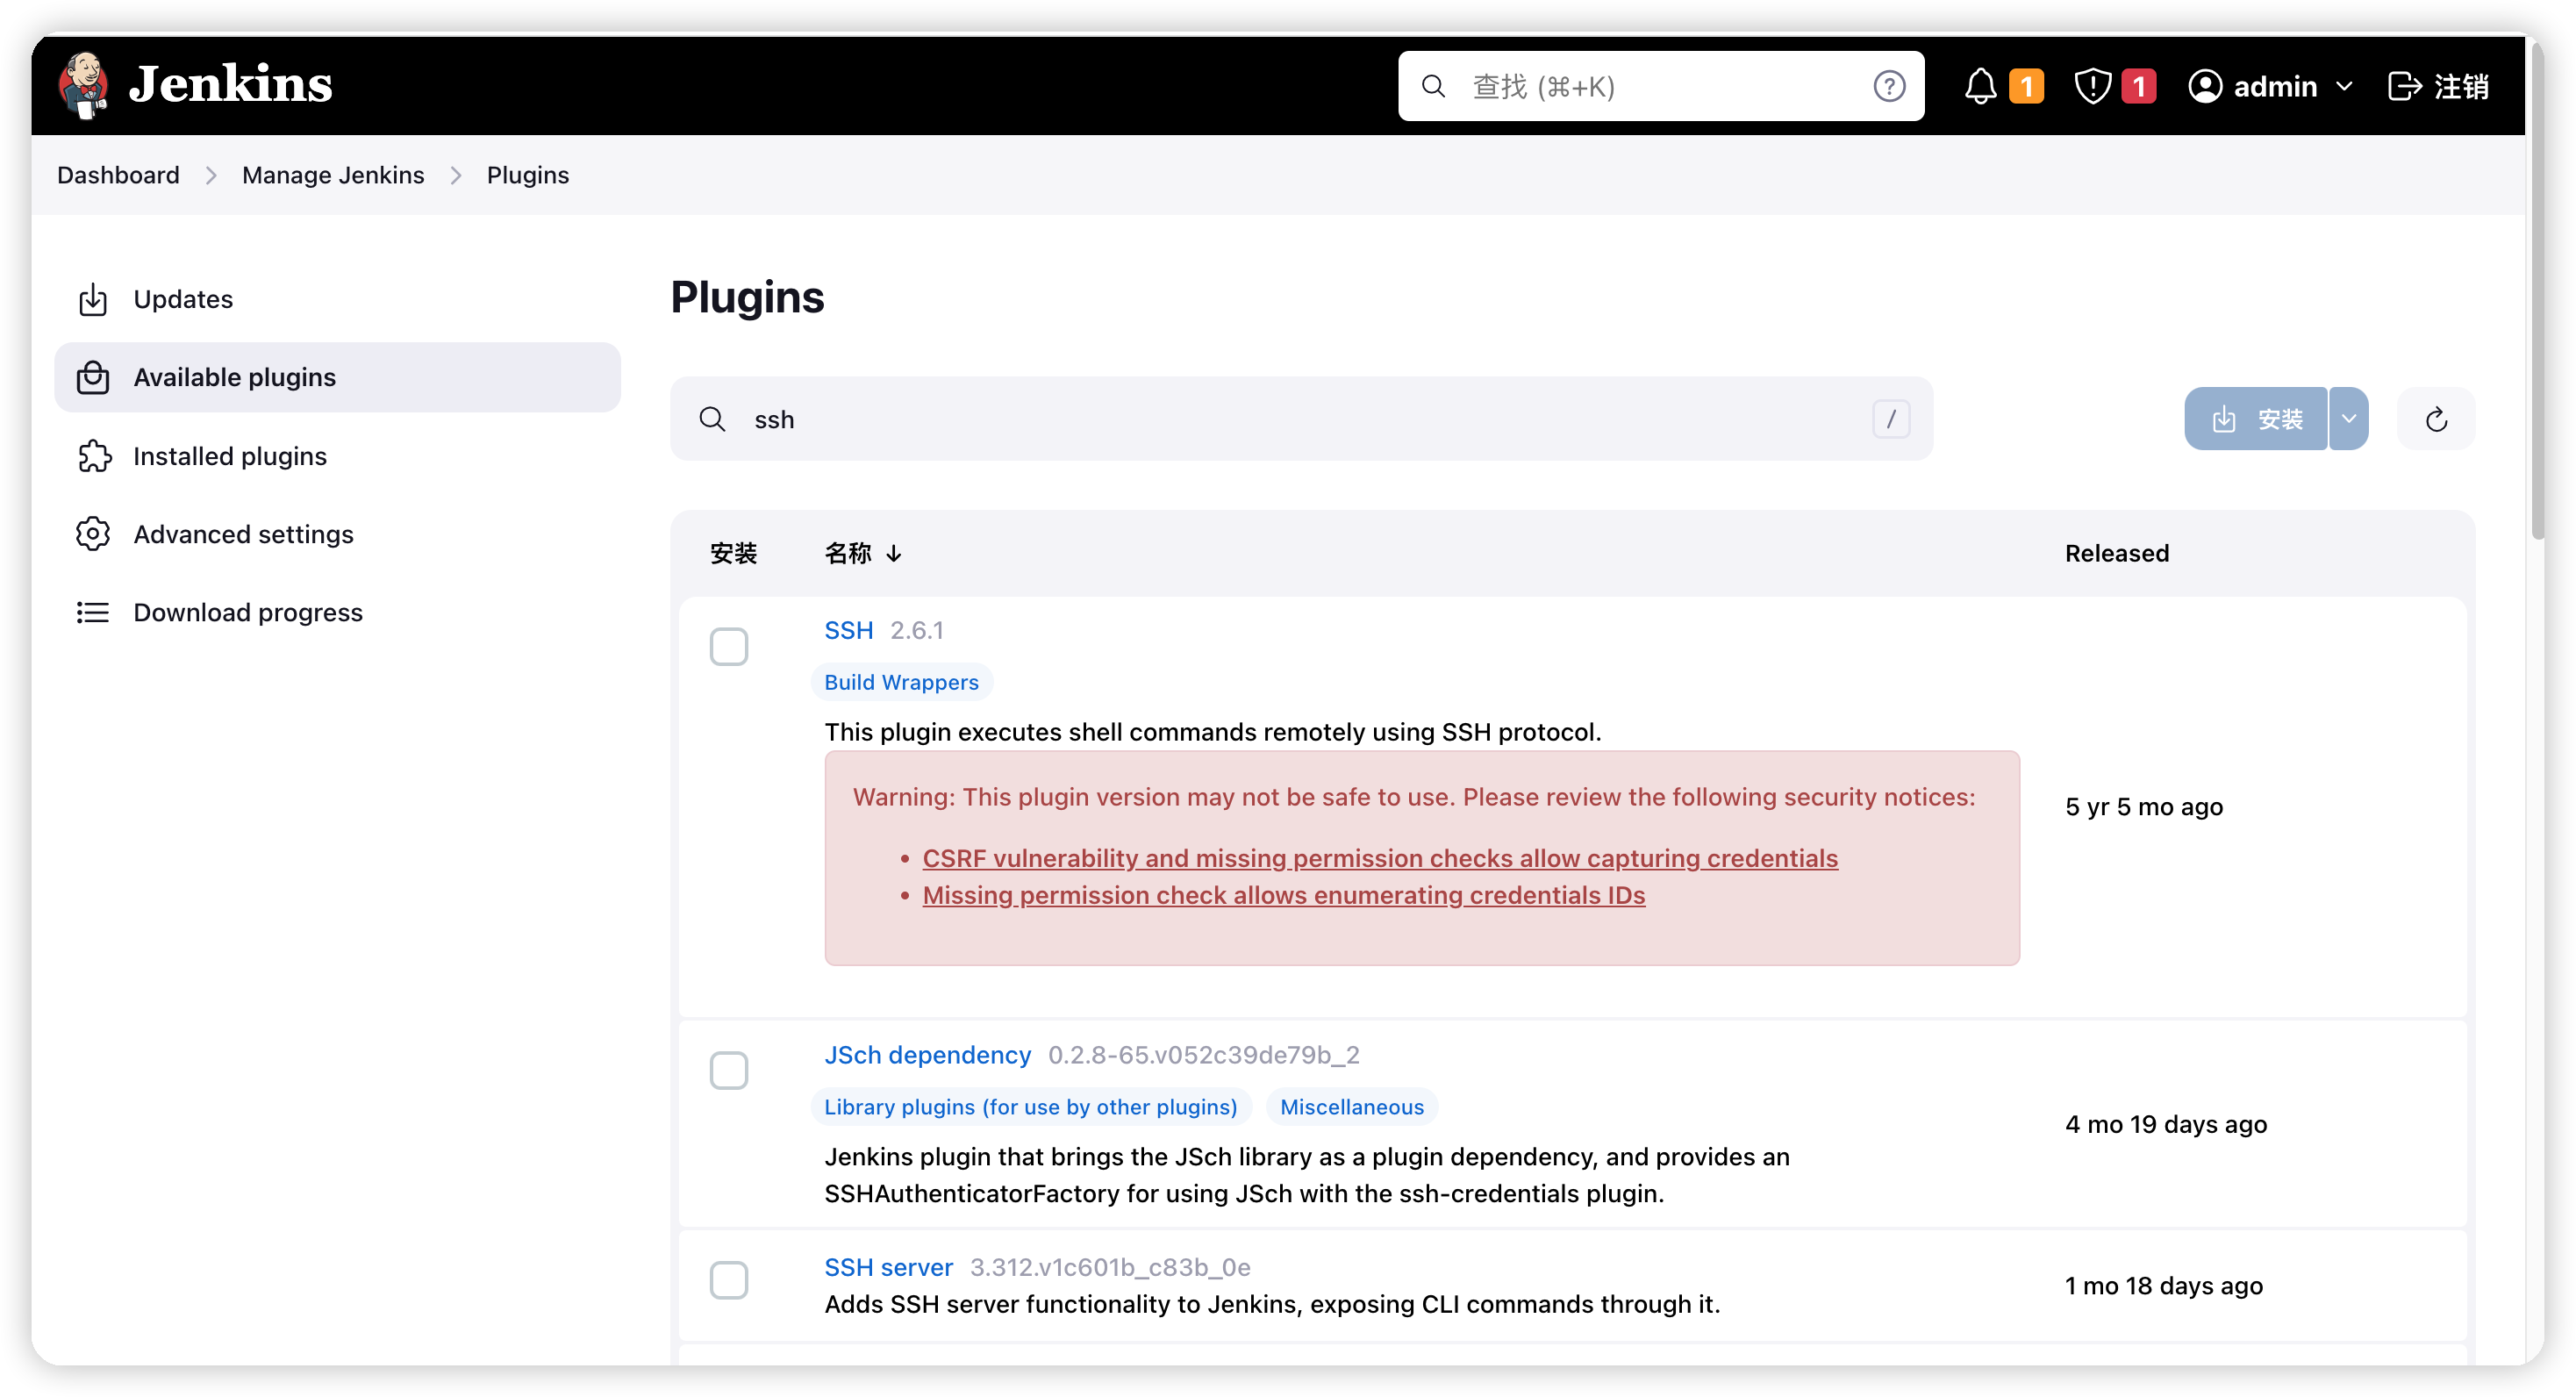
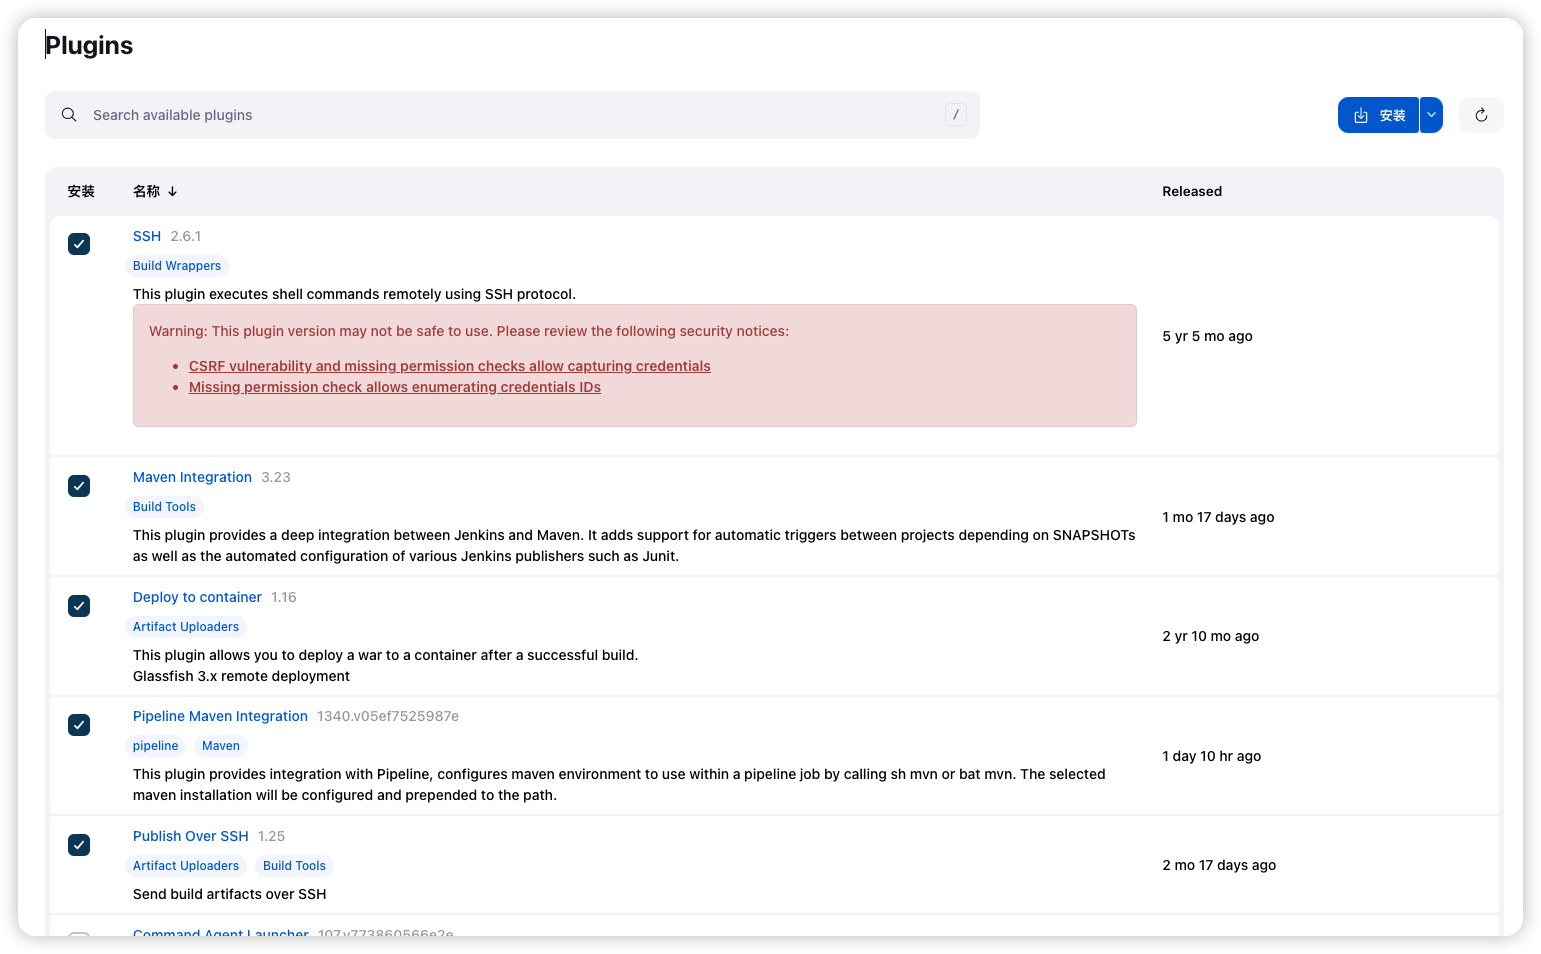
安装下面插件:
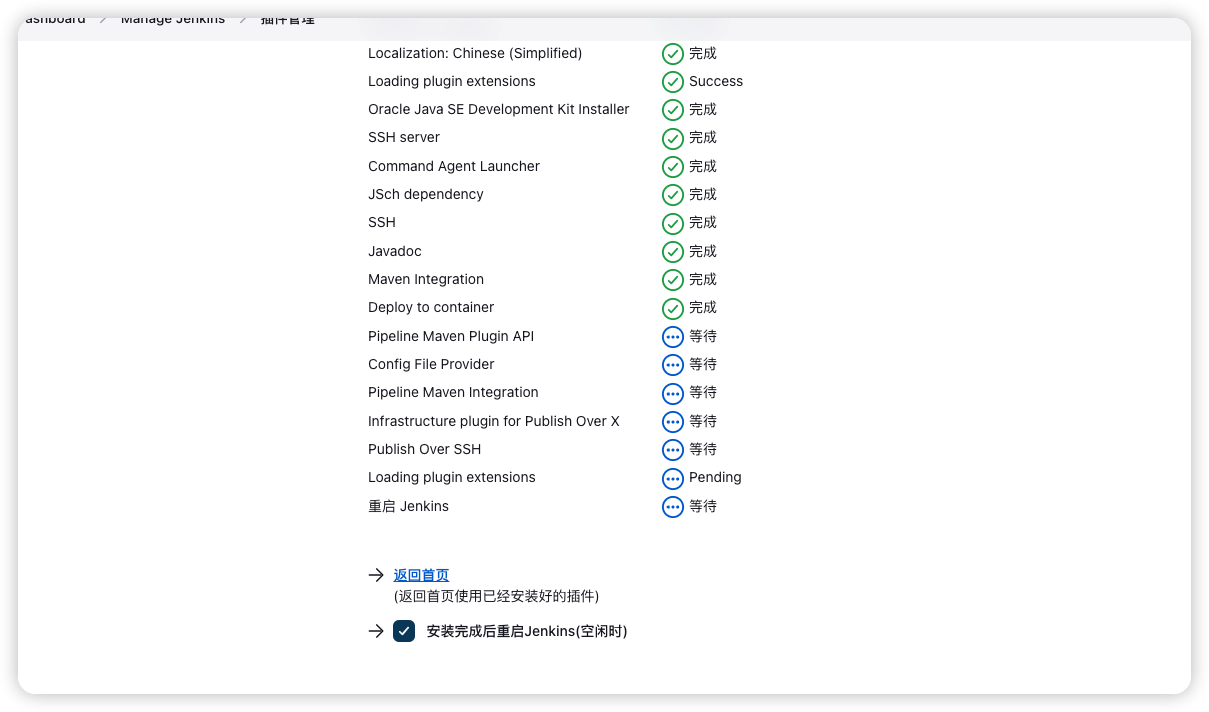
安装完成
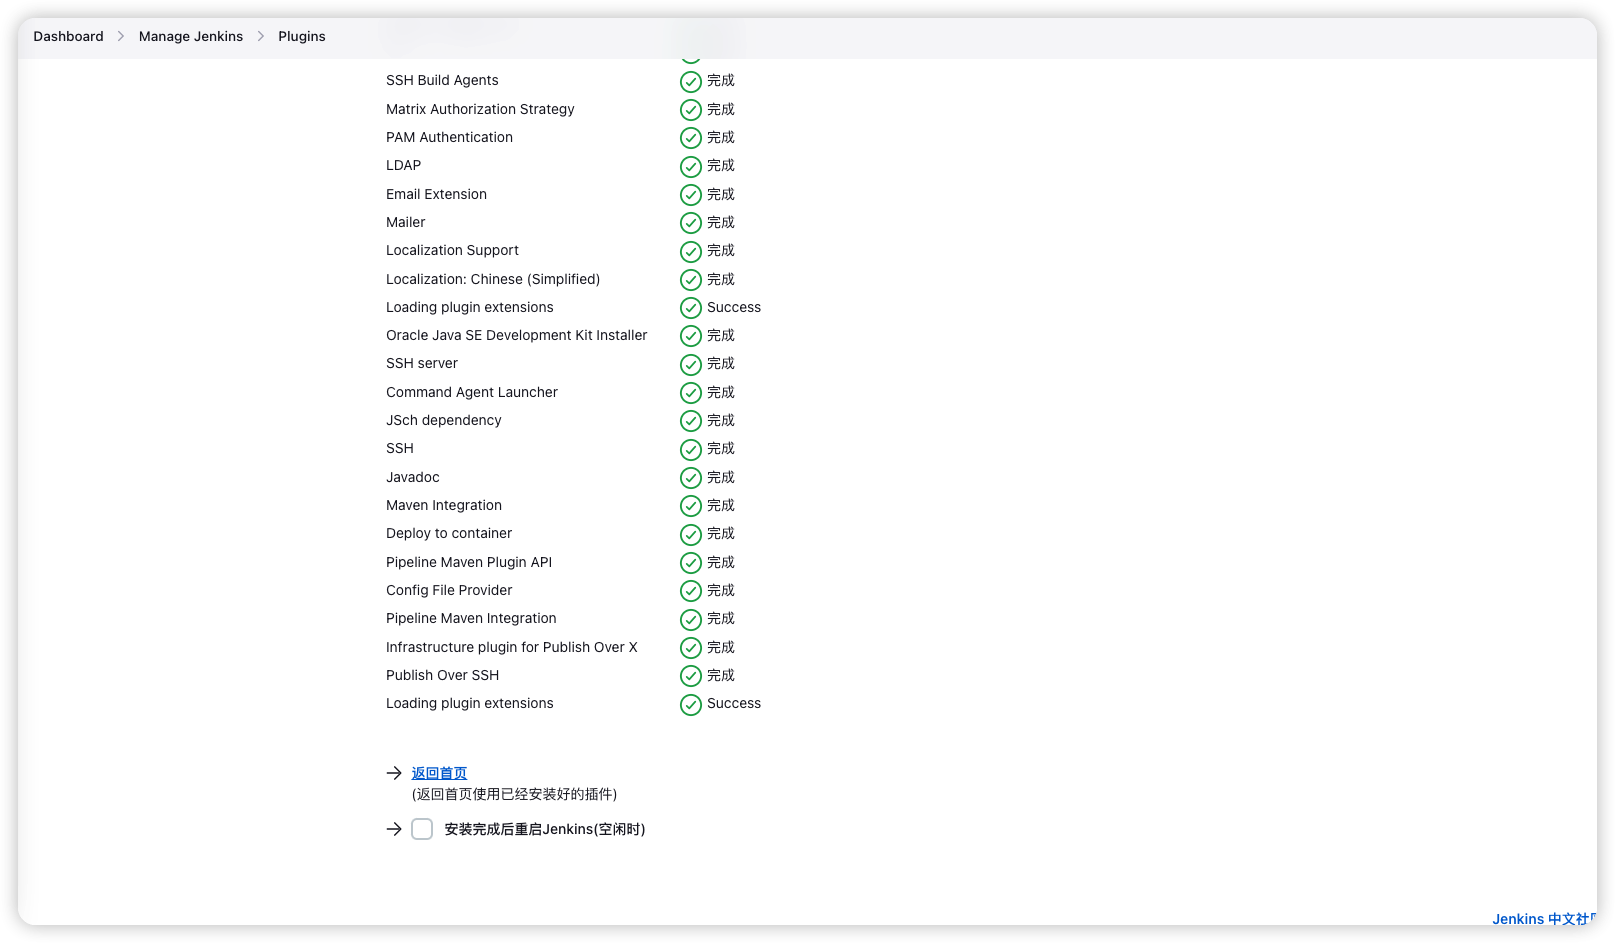
安装完成后重启Jenkins
# 部署Maven项目
# 配置GIT权限
注意:如果Jenkins节点多,每个节点都需要执行这个步骤
配置Git权限,这里我使用的都是GitLab举例
在Jenkins服务所在服务器生成公钥
ssh-keygen -t ecdsa
在GitLab添加生成的公钥
cat ~/.ssh/id_ecdsa.pub
ecdsa-sha2-nistp256 AAAAE2VjZHNhLXNoYTItbmlzdHANTYAAAAIbmlzdHAyNTYAAABBBFY0VjZSDr/QyBjIf2OUC9N1QyuGFTcTGbS7fq4ECW1FUNQSHSJ0X/gLQmANT3S6hZLmZB0VhpG2gn8FckWoC9Y= root@centos7.9-template
2
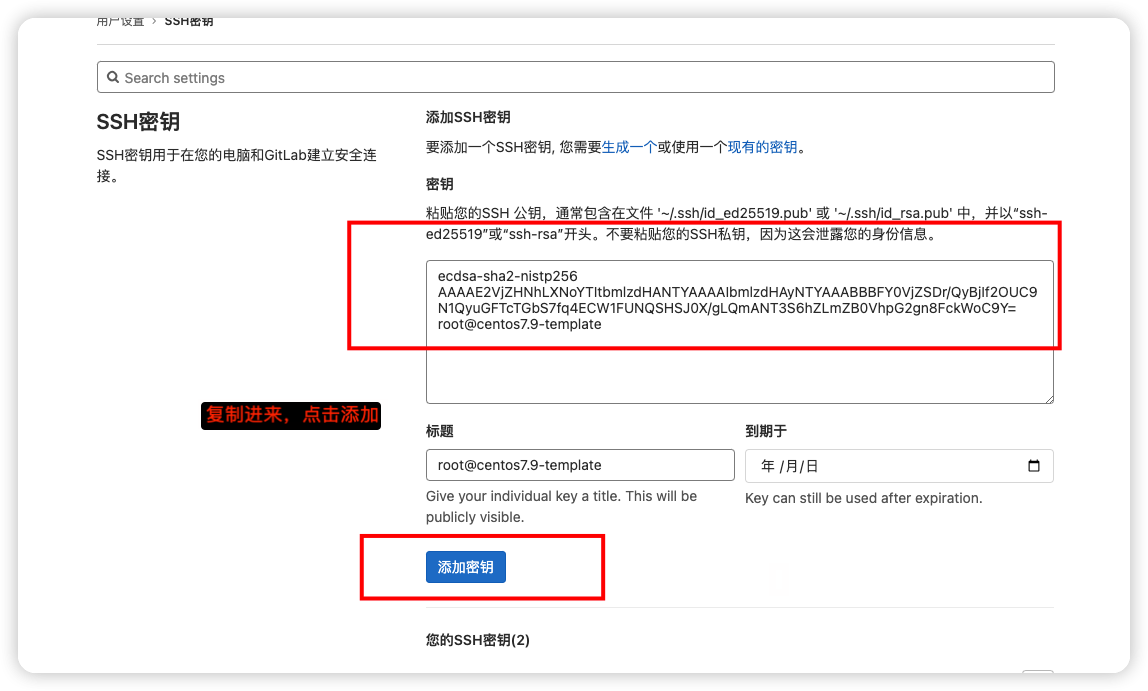
添加完成之后,在服务器Shell执行一次命令,会提示让你输入YES,仅首次配置服务器需要执行该步骤
$ git clone git@192.168.1.1:jast/cp.git

ECDSA key fingerprint is SHA256:/VZpxzlzpZqNTgoUR+XWXsnypMdq6n/q+/kWbirNxMo.
ECDSA key fingerprint is MD5:86:f4:2c:0c:df:47:e5:1e:ed:c7:00:87:3e:ee:fb:47.
Are you sure you want to continue connecting (yes/no)? yes
2
3
4
5
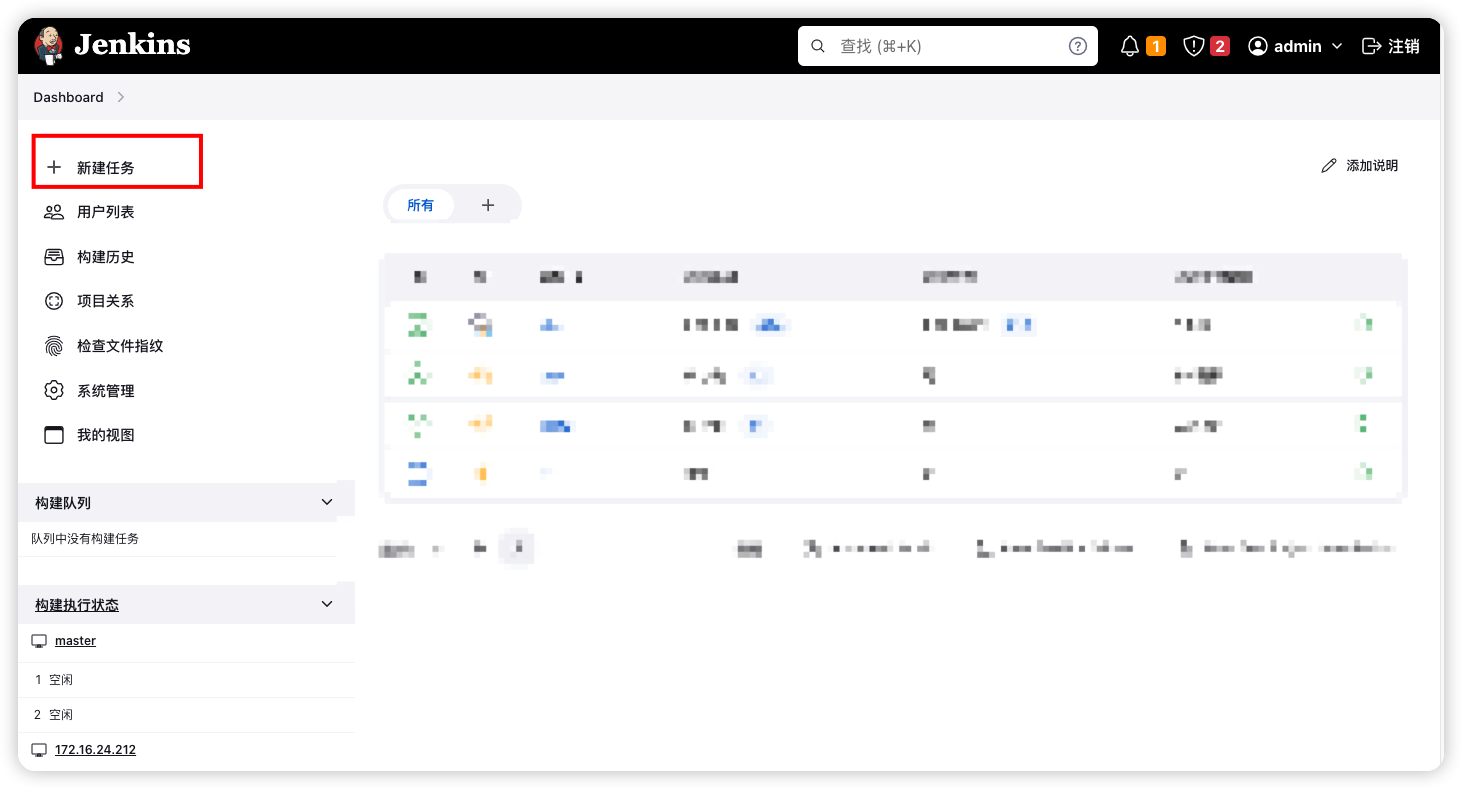
# 创建Jenkins任务
新建任务
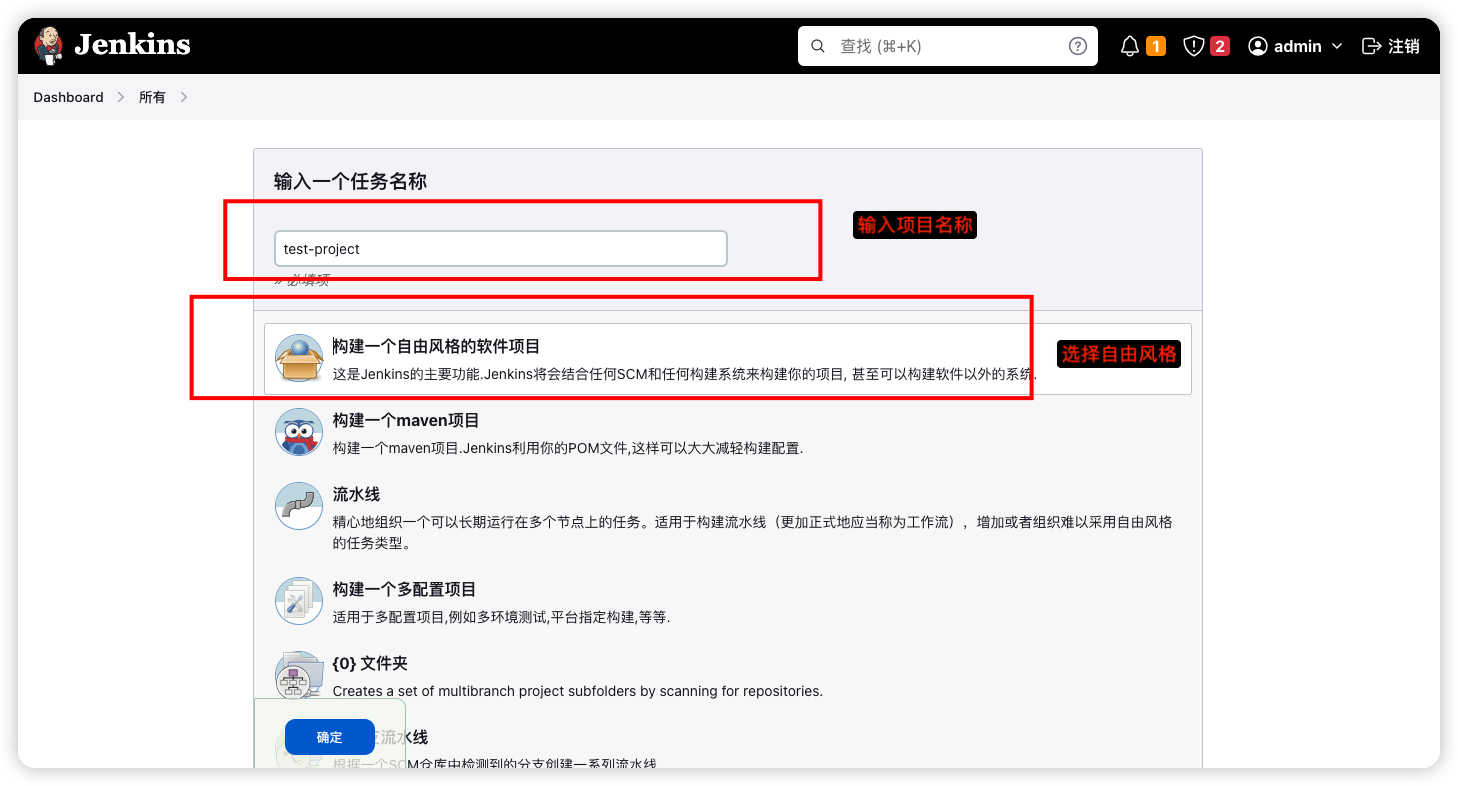
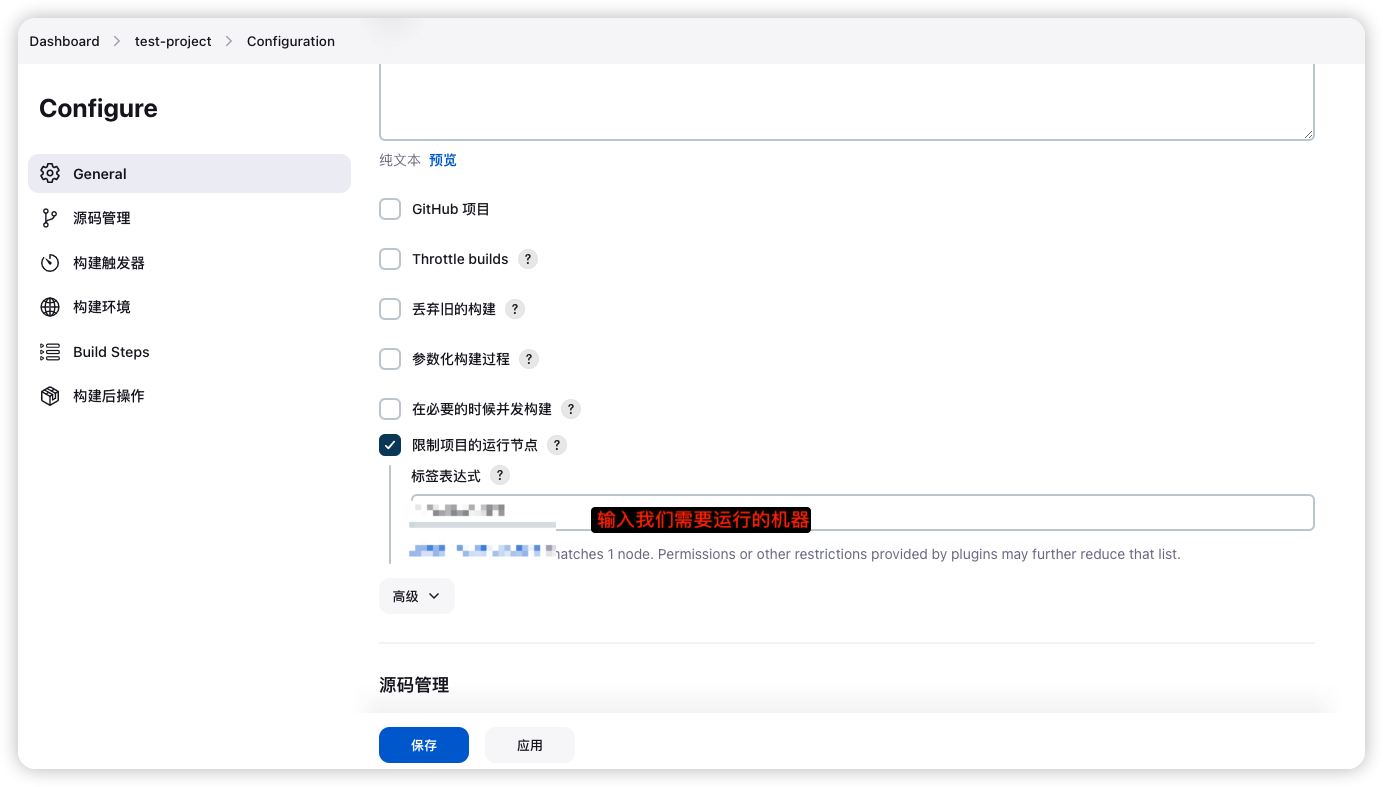
设置我们需要再哪个服务器上运行
这里输入的节点,与我们创建节点时设置的名称一样,我们统一用IP地址命名
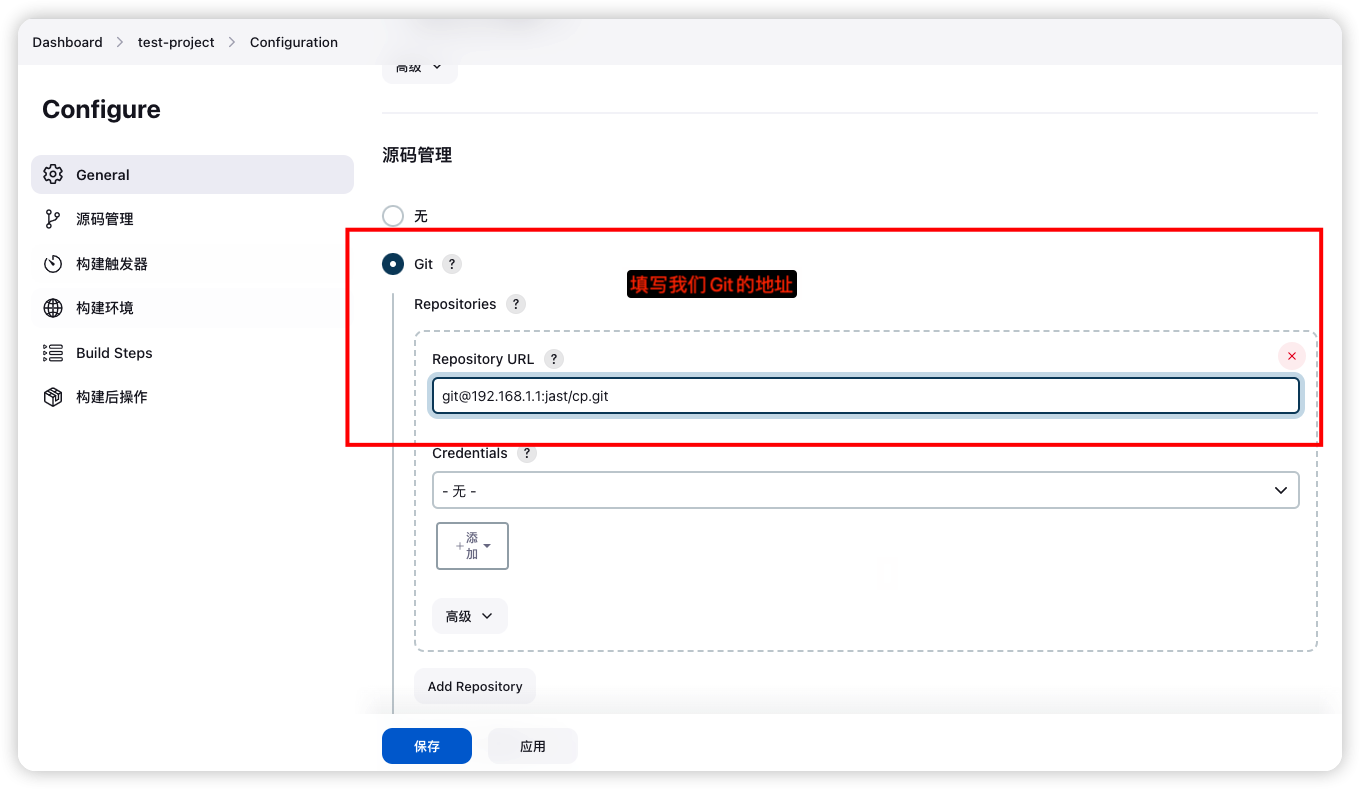
设置拉取Git代码分支
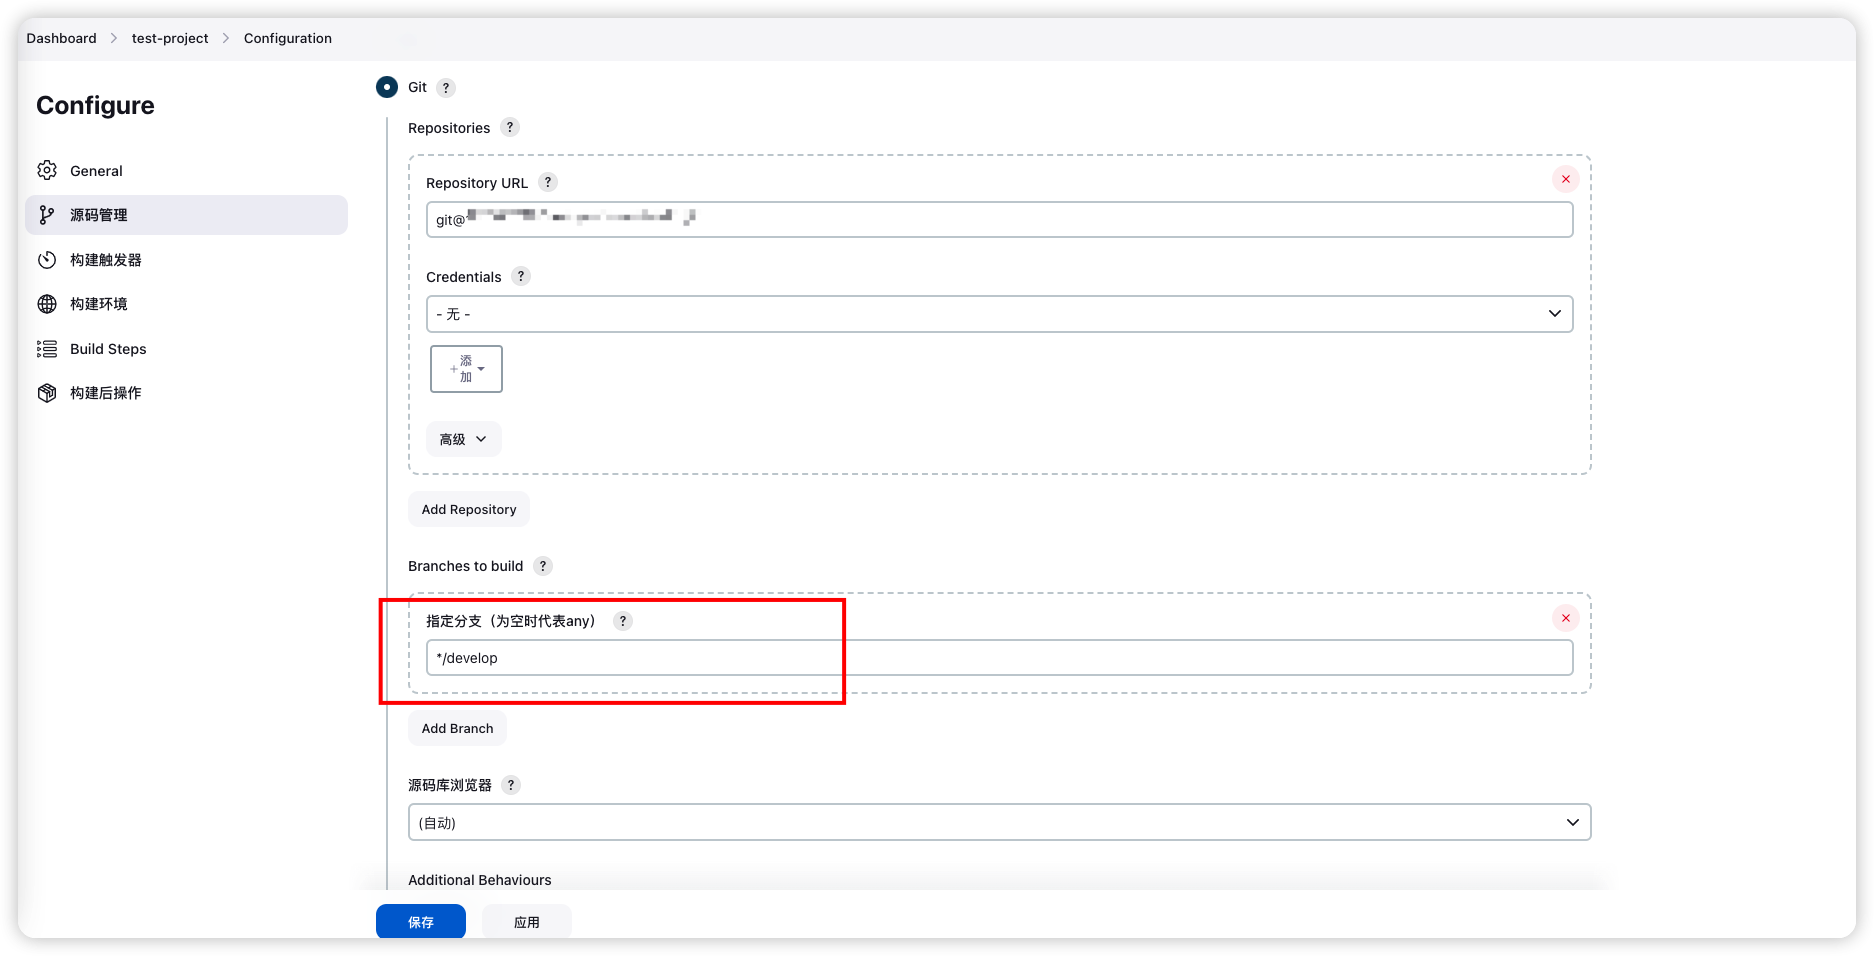
此处填写的develop就是我们代码的分支,即
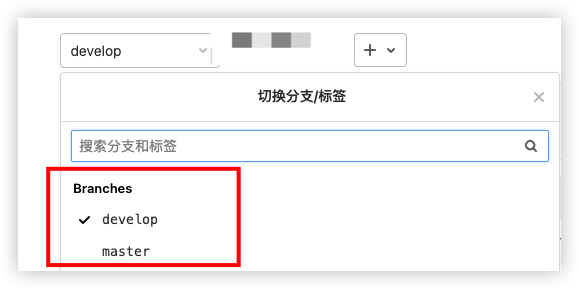
创建拉取代码后执行的脚本,Build Steps -> 执行shell
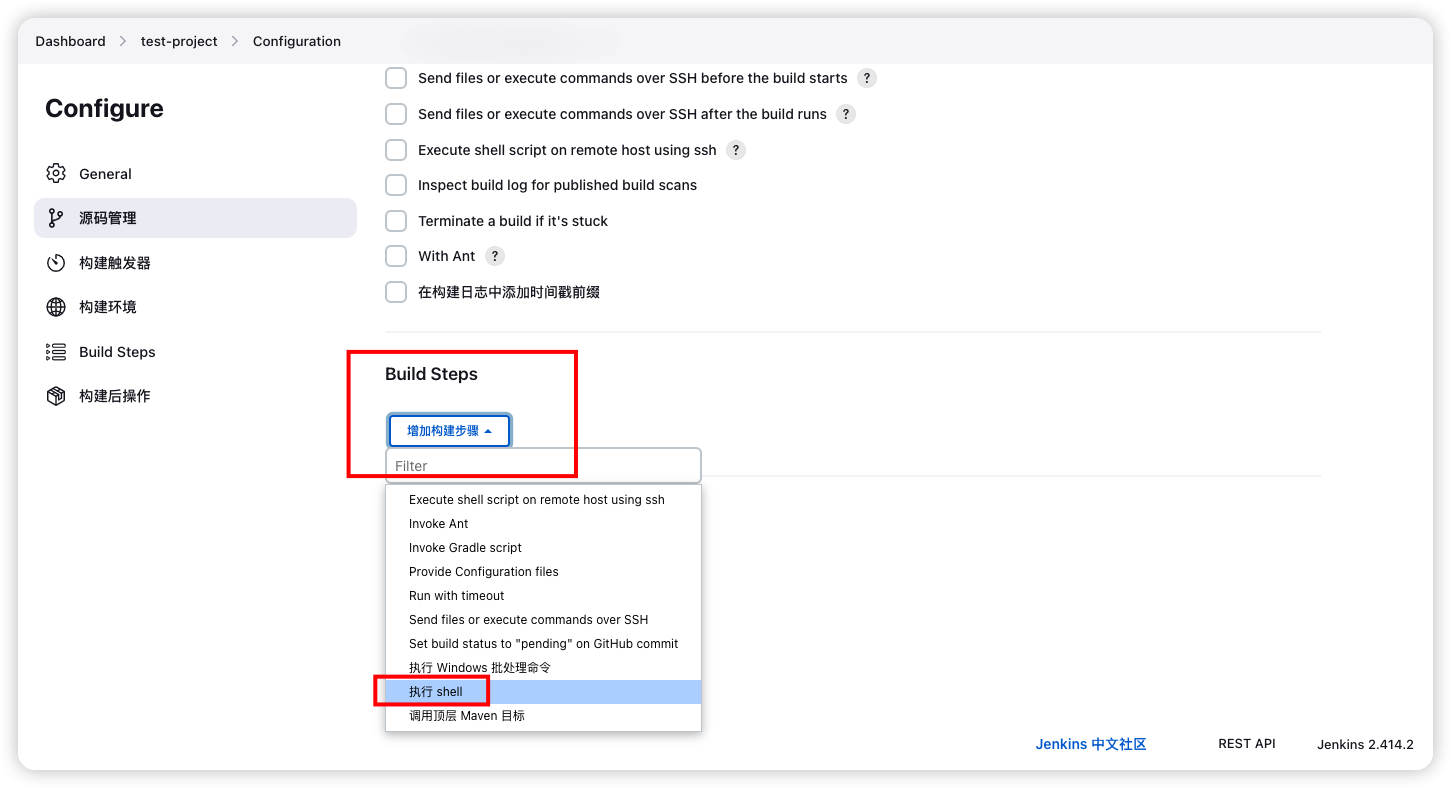
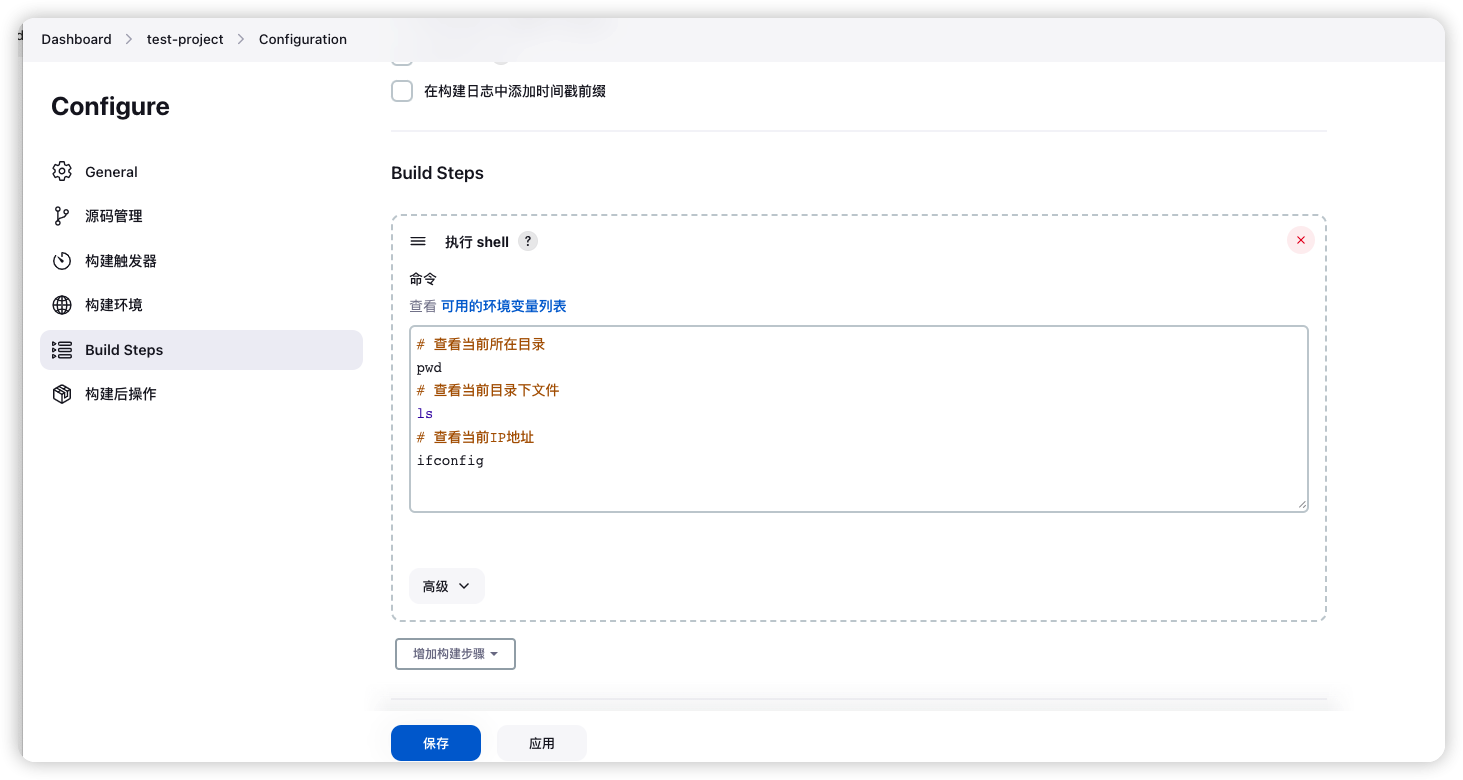
初步验证,随便输入几个命令查看是否能拉取代码成功
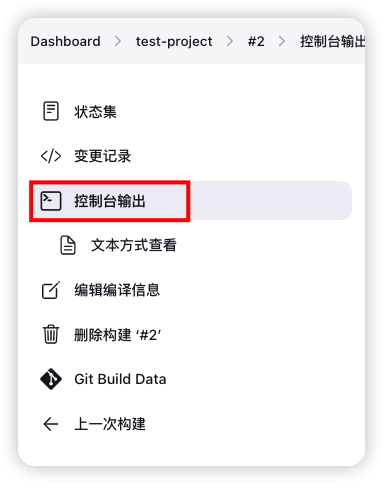
查看输出
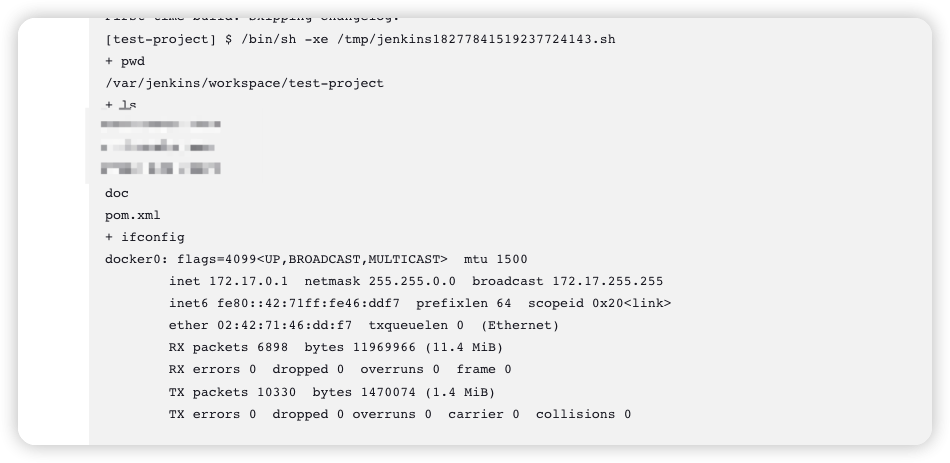
可以看到我们刚刚填写shell命令的输出
运行程序道理就相同了,可以直接通过shell配置自动化操作,就不一一介绍。

